DIY: Relay-controlled source-/filter selection ES9038Q2M (Arduino)

so, 😉
because i´m really stupid and really don´t know how to accomplish a “jumper-substitution” and after reading in some Arduino-forums, i came to the idea of buying some relay and try to realise it via this way..

(Update:profd” from the forum told “us” to use digi high or low + a logic level converter instead;->LINK)
These relays are cheap, around 2€ or so, u can buy it as 1,2,4,8 and so on..they are really easy to connect/addressable..


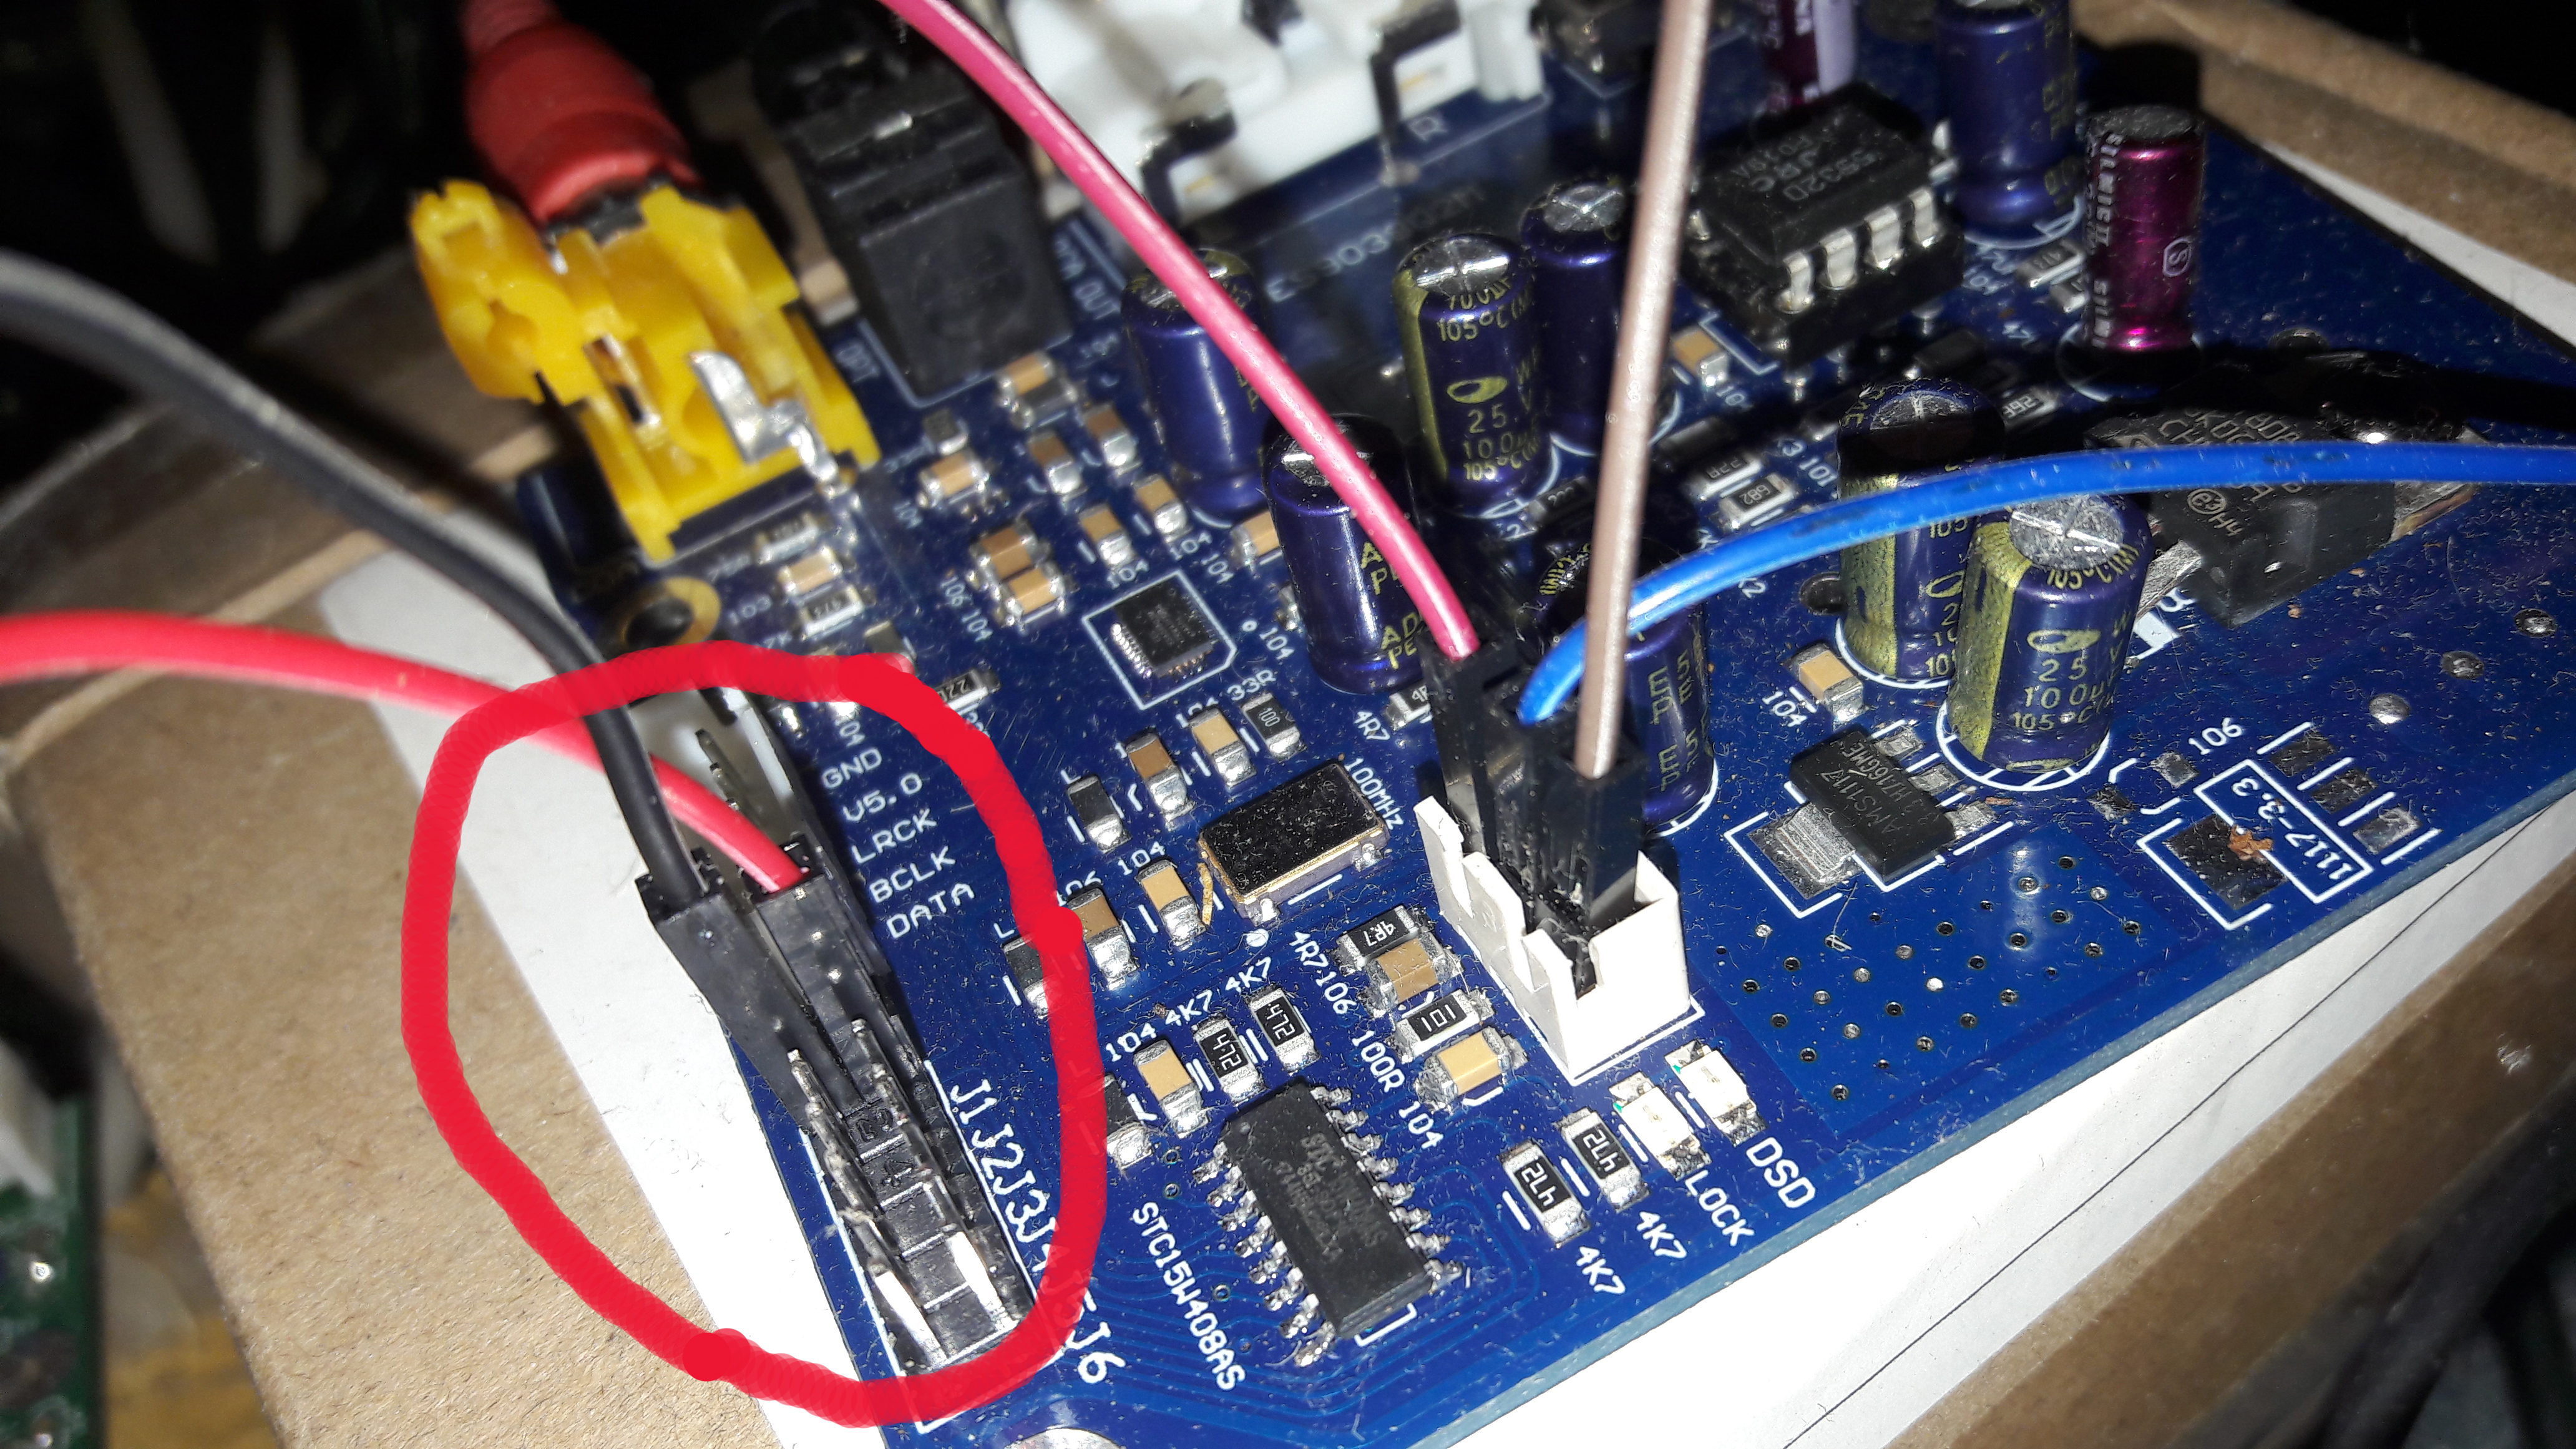
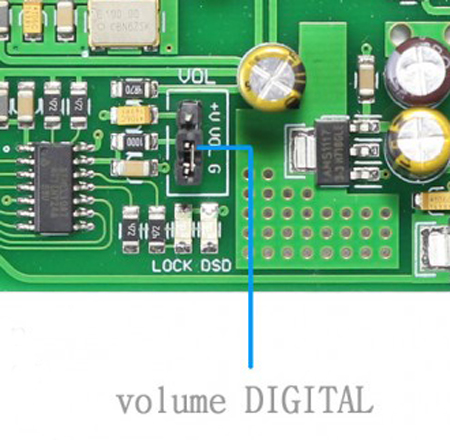
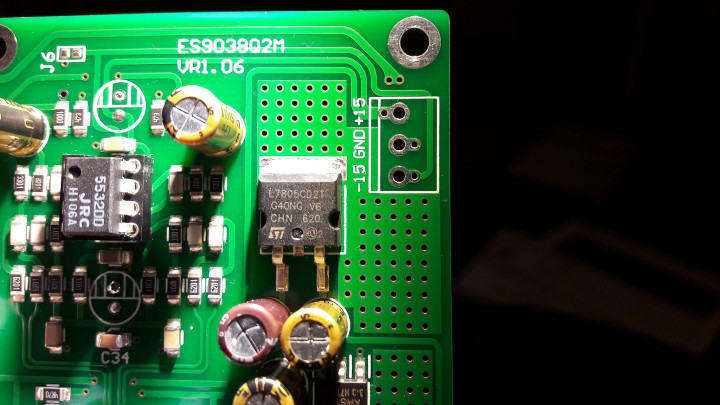
(remark: the 3 wires on the right are for the 10k poti (and then in future for the digi-poti of course))

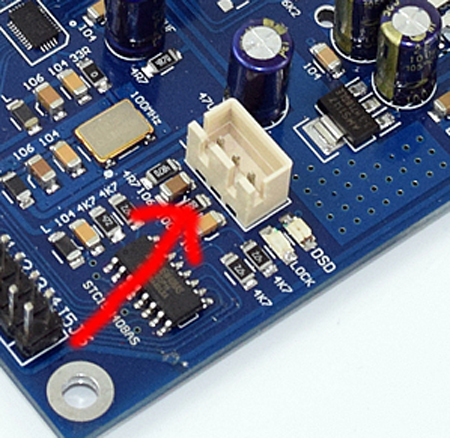
u connect the GND and + from JP1 on the ES9038Q2M to COM (GND) and NO (+) and thats it..(i first connected it to the NC (normally closed) but that means, if u shut the Arduino down, then the circuit is (normally-)”closed”, means jumper set..

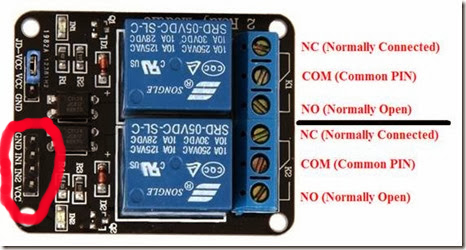
the relay itself is easy connected; GND from the Arduino to the GND and Power (5V+) from the Arduino to the VCC-pin (the jumper JD-VCC etc.. is another story, only remove and connect it to an external power source if u want to separate the Arduino-circuit completely from the relais circuit).
IN1,IN2 etc. is connected to a pin of your choice/assignment made in the sketch like this:
//relais
#define RELAY1 8
#define RELAY2 12
#define RELAY3 6
#define RELAY4 7
(i will post the modified sketch in the forum->LINK)
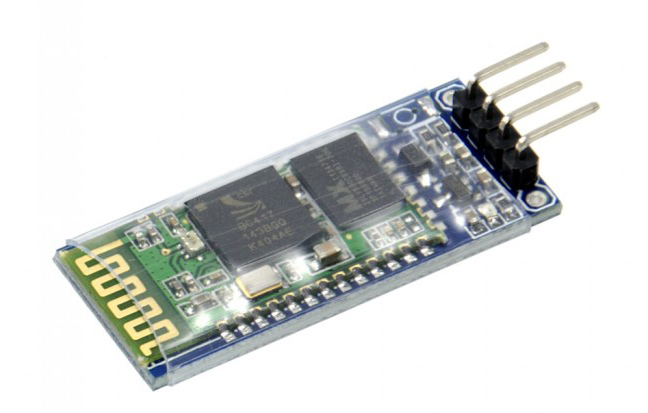
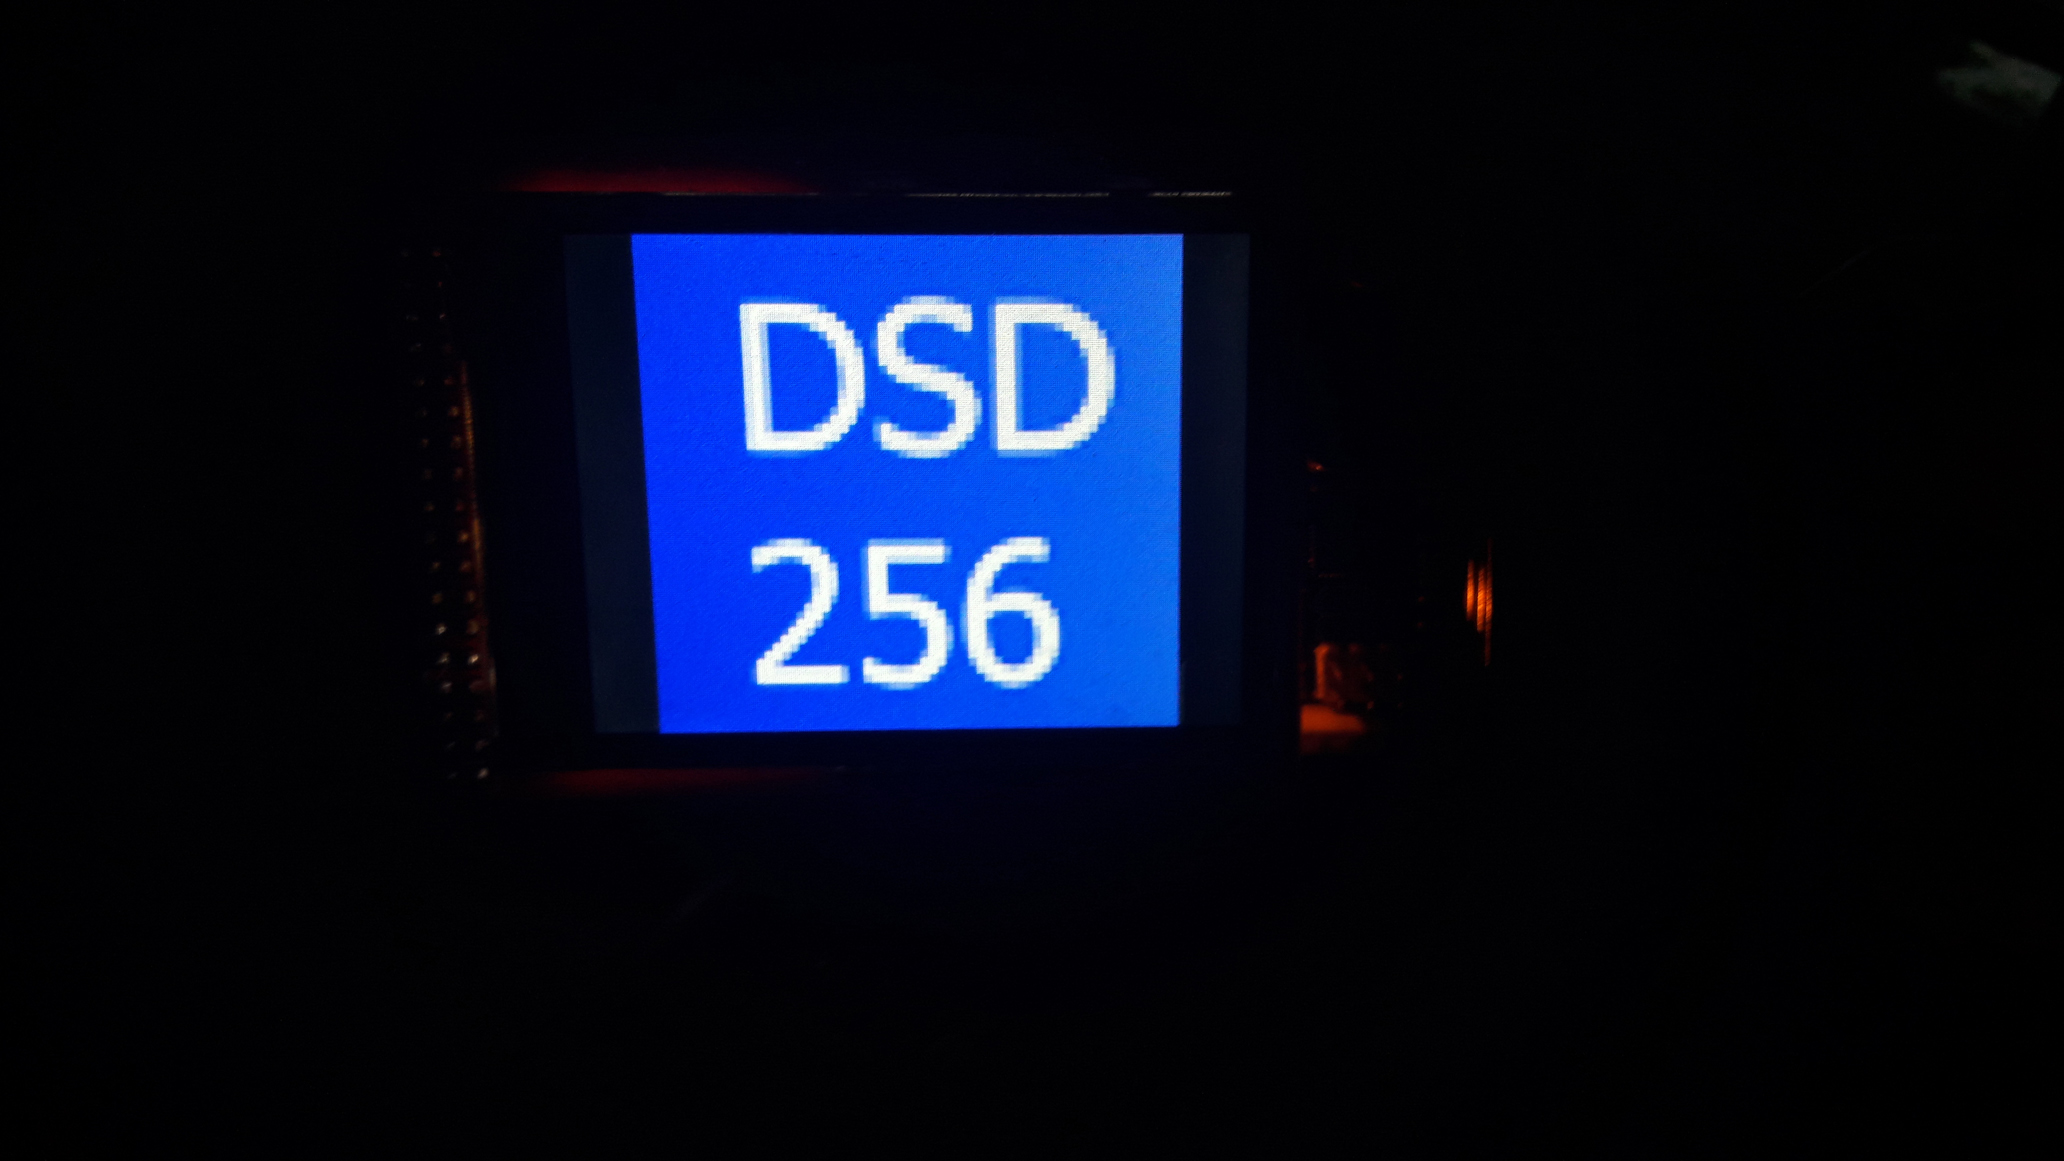
so, and now i can control/set the source via the BT (via our sketch), means for example “c” for coaxial, “o” for optical, “i” for I2S and so on..

if (a==’c’)
{
BT.println(“Source: coaxial”);
digitalWrite(RELAY2,HIGH); //R2 OFF
delay(50);
digitalWrite(RELAY1,LOW); //R1 ON
..
lcd.print(“Source: coaxial”);

}

i, u, can also use this now to set the different-filter-types, as for example JP3=set and JP4=set ->”slow minimum roll off filter”)..(will also maybe make a modified sketch for this future..)..
so, and really funny/cool 😉 is that these relays really make a “clack”-noise, everytime u adress it, for example i choose “c”=coaxial it makes “clack” and it changes to coaxial..


really “Hi-Fi” 😉

(forum-link->LINK)

DIY: 2.6″ TFT-LCD (320*240) SPI ARDUINO MEGA 2560 *MCUFRIEND* (Part2) **works**

so, 😉
got the above mentioned 2.6″ tftlcd finally to work !! 😉

(3,40€->https://de.aliexpress.com/item/LCD-module-TFT-2-6-inch-TFT-LCD-screen-for-Arduino-Mega2560-R3-Board/32716341280.html)

see this (Part1)->http://essabre-90xx-rpi.sfb2.com/2017/11/2-6-tft-lcd-320240-spi-arduino-mega-2560-mcufriend/
and this new post in the forum->http://essabre-90xx-rpi.sfb2.com/forum/showthread.php?tid=29
the “breakthrough” was via this site->http://forum.cxem.net/index.php?/topic/197765-26-inch-tftlcd-for-arduino-mega-2560-unknoun-driver/
(i got the chip/controller ID:”0x0404“)
and this very,very important,modified library->http://www.sfb2.com/pics/UTFT_for_ST7781.rar

(more, full article/post/tut in the forum)

DIY: Migration sketch/build-up Arduino Mega2560 to Uno R3

so, 😉
hello, nothing new in particular..got today my “Geekcreit® UNO R3 ATmega328P” for roundabout 3€ (i order there sometimes because of (in general) faster shipping times then Aliexpress)->
https://www.banggood.com/UNO-R3-ATmega328P-Development-Board-For-Arduino-No-Cable-p-964163.html

nothing special, except u have to use “Pin3” instead of “Pin9” on the Mega2560 for irsend..
(made a long post in the forum->http://essabre-90xx-rpi.sfb2.com/forum/showthread.php?tid=28)

greets 😉

ES9038Q2M: interesting new forum (audiodiyers.hu) + DACES9038PRO

so, 😉
came here by chance to a new very interesting ES9038Q2M-forum->
http://audiodiyers.hu/viewtopic.php?f=48&t=3615
some interesting pics/news on it, par example that the Green 1.06 has 7805 instead of 7808 on it and so on 😉 ->

by that, there is also a link to a 9038Pro-DAC (DACES9038PRO) designed by Andrea Ciuffoli/Quang Hao + a lot of interesting infos around the schematics of the sabre-chips->http://www.audiodesignguide.com/DACES9038PRO/


greets for now 😉

ES9038Q2M/ES9018K2M: DSD (+perfect bitstreaming) Win8.1-foobar2000

so, 😉
because i have here heavy “overdue delivery”-problems for some Aliexpress/China-manufactored DIY-things (yesterday a Electric Soldering Iron arrived exactly after 94 !! Days), i decided to make a new try in DSD-(native)-playing under Windows..experiences so far:
(i used Win8.1 because i don´t want to fuck up my Windows10-settings with the XMOS-USB-driver)..
okay, i used foobar2000 (JRiver trial period is over 😉 ) and have here the Singxer-V4.36 driver installed..
I used the ASIO-tutorial in the Topping NX4DSD v4.14 driver and manual pack (->http://essabre-90xx-rpi.sfb2.com/forum/showthread.php?tid=22) because i heard absolutely nothing with the “ASIO-Singxer USB Audio Device”-settings under “Preferences->Output->Device”..


after installing the foo_dsd_asio and foo_input_sacd foobar components + Asioproxyinstall v0.72 from the Topping V4.14 pack i´ve finally got a heavy white noise on both channels with the ES9038Q2M (and very very silent music back in it) and heavy white noise only on the left channel with the ES9018K2M (both with the Skyong(Singxer)-USB-bridge))..
The Singxer USB-Audio Device Control panel displays (in this case) 5644800hz and foobar also shows:”DSD128/11290kbps/5644800hz” and the DSD-light on the ES9038Q2M and the blue DSD-led on the Skysong are also lit (see picture above)..

i´ve read elsewhere exact the same behaviour/problem..
okay, but this is a small improvement, because with the normal “Asio-Singxer USB Audio”-driver i heard absolutely nothing..
so far for now, i really have no clue to progress further (as said didn´t test it on Win10 because of not messing around with the usb-driver there)..


If anyone here has a solution for this “white noise”-problem, please leave a comment here !!

ES9038Pro: New ES9038Pro out !! HIFIME UDA38PRO DAC (ES9038PRO + SA9227) 219€

hi there !! 😉 ,
came by chance about this gem->HIFIME UDA38PRO DAC (ES9038PRO + SA9227) with an ES9038pro !!
just absolutely fresh out->yesterday or so->”HiFimeDIY:
07/02/2018, 07:06:32 AM
Hi everyone, it’s now available to order! https://hifimediy.com/uda38pro-usb-dac-es9038pro Some more data will be added to the description soon. We do have a few units available now, and more after Chinese New Year. And we managed to get the price down to 219€“..


https://hifimediy.com/uda38pro-usb-dac-es9038pro
“The Hifime UDA38Pro utilises the ESS Sabre ES9038Pro DAC chip that has received a lot of attention and praised as the most important new DAC chip in ages…We have paired the ES9038Pro with OPA1622 output stage amplifier that can drive a wide range of loads including low and high impedance headphones and also line level loads like preamps and amplifiers… it can achieve up to 140dB !! dynamic range, -122 dB (0.00008%) total harmonic distortion plus noise (THD+N) in mono mode

Specs: (to come..)

ES9038Q2M: “Project 2”->building a BT-controlled HW-Volume-control (digital pot 10kOhm) MCP4131

so, 😉
because its a little bit silent around here lately, we still don´t know if the “Blue” ES9038Q2M has a “shitty” pcb and the “green”-ones sounds better, i have still buffer/”lock”-problems in windows using the V4.36 Singxer-driver on the Skysong-XMOS-USB in sample rates above 16/44 i wanted to use the onboard-HW-volume control, to which u can connect a normal 10kOhm-potentiometer (see pictures) easy..


i tested it here, and it works far not so good as expected and i guess u have a very small range of about 20% or so (in my feel) too..
i thought i could easy use the Arduino with analogwrite () and connect one pin to the middle of the onboard-3 pin but what i´ve read so far is that the Arduino can only send out PWM-signals so u need an external digital potentiometer (thats what i´ve read so far, don´t know if its true) and control it via the (in this case) SPI-bus/protocol..
for this u can buy a cheap MCP, in this case a MCP4131 of around 0,89€ and a Dip-8 socket (0,51€) etc.,etc..(more to come..)


(very good tutorial for this right now:
http://www.learningaboutelectronics.com/Articles/MCP4131-digital-potentiometer-circuit.php)

i will post here any “improvements” (and (maybe) a full tut) asap..!! 😉

1 2