essabre-90xx-rpi.sfb2 has moved / Arduino + SSD1306 / ESP32 Bluetooth-serial / 3D-printer case

so, 😉
essabre-90xx-rpi.sfb2 has finally moved..was a bit more work then expected, right now i´m not 100% satisfied with the result->had btw. to change the symlinks-structure in wordpress, so some pics/categories will have another url + the “direct”-forum-link (at the top) has changed to a “2-click-experience” 😉 + some minor changes, but overall i think its now a little bit faster + on a newer OS + a newer php-version..

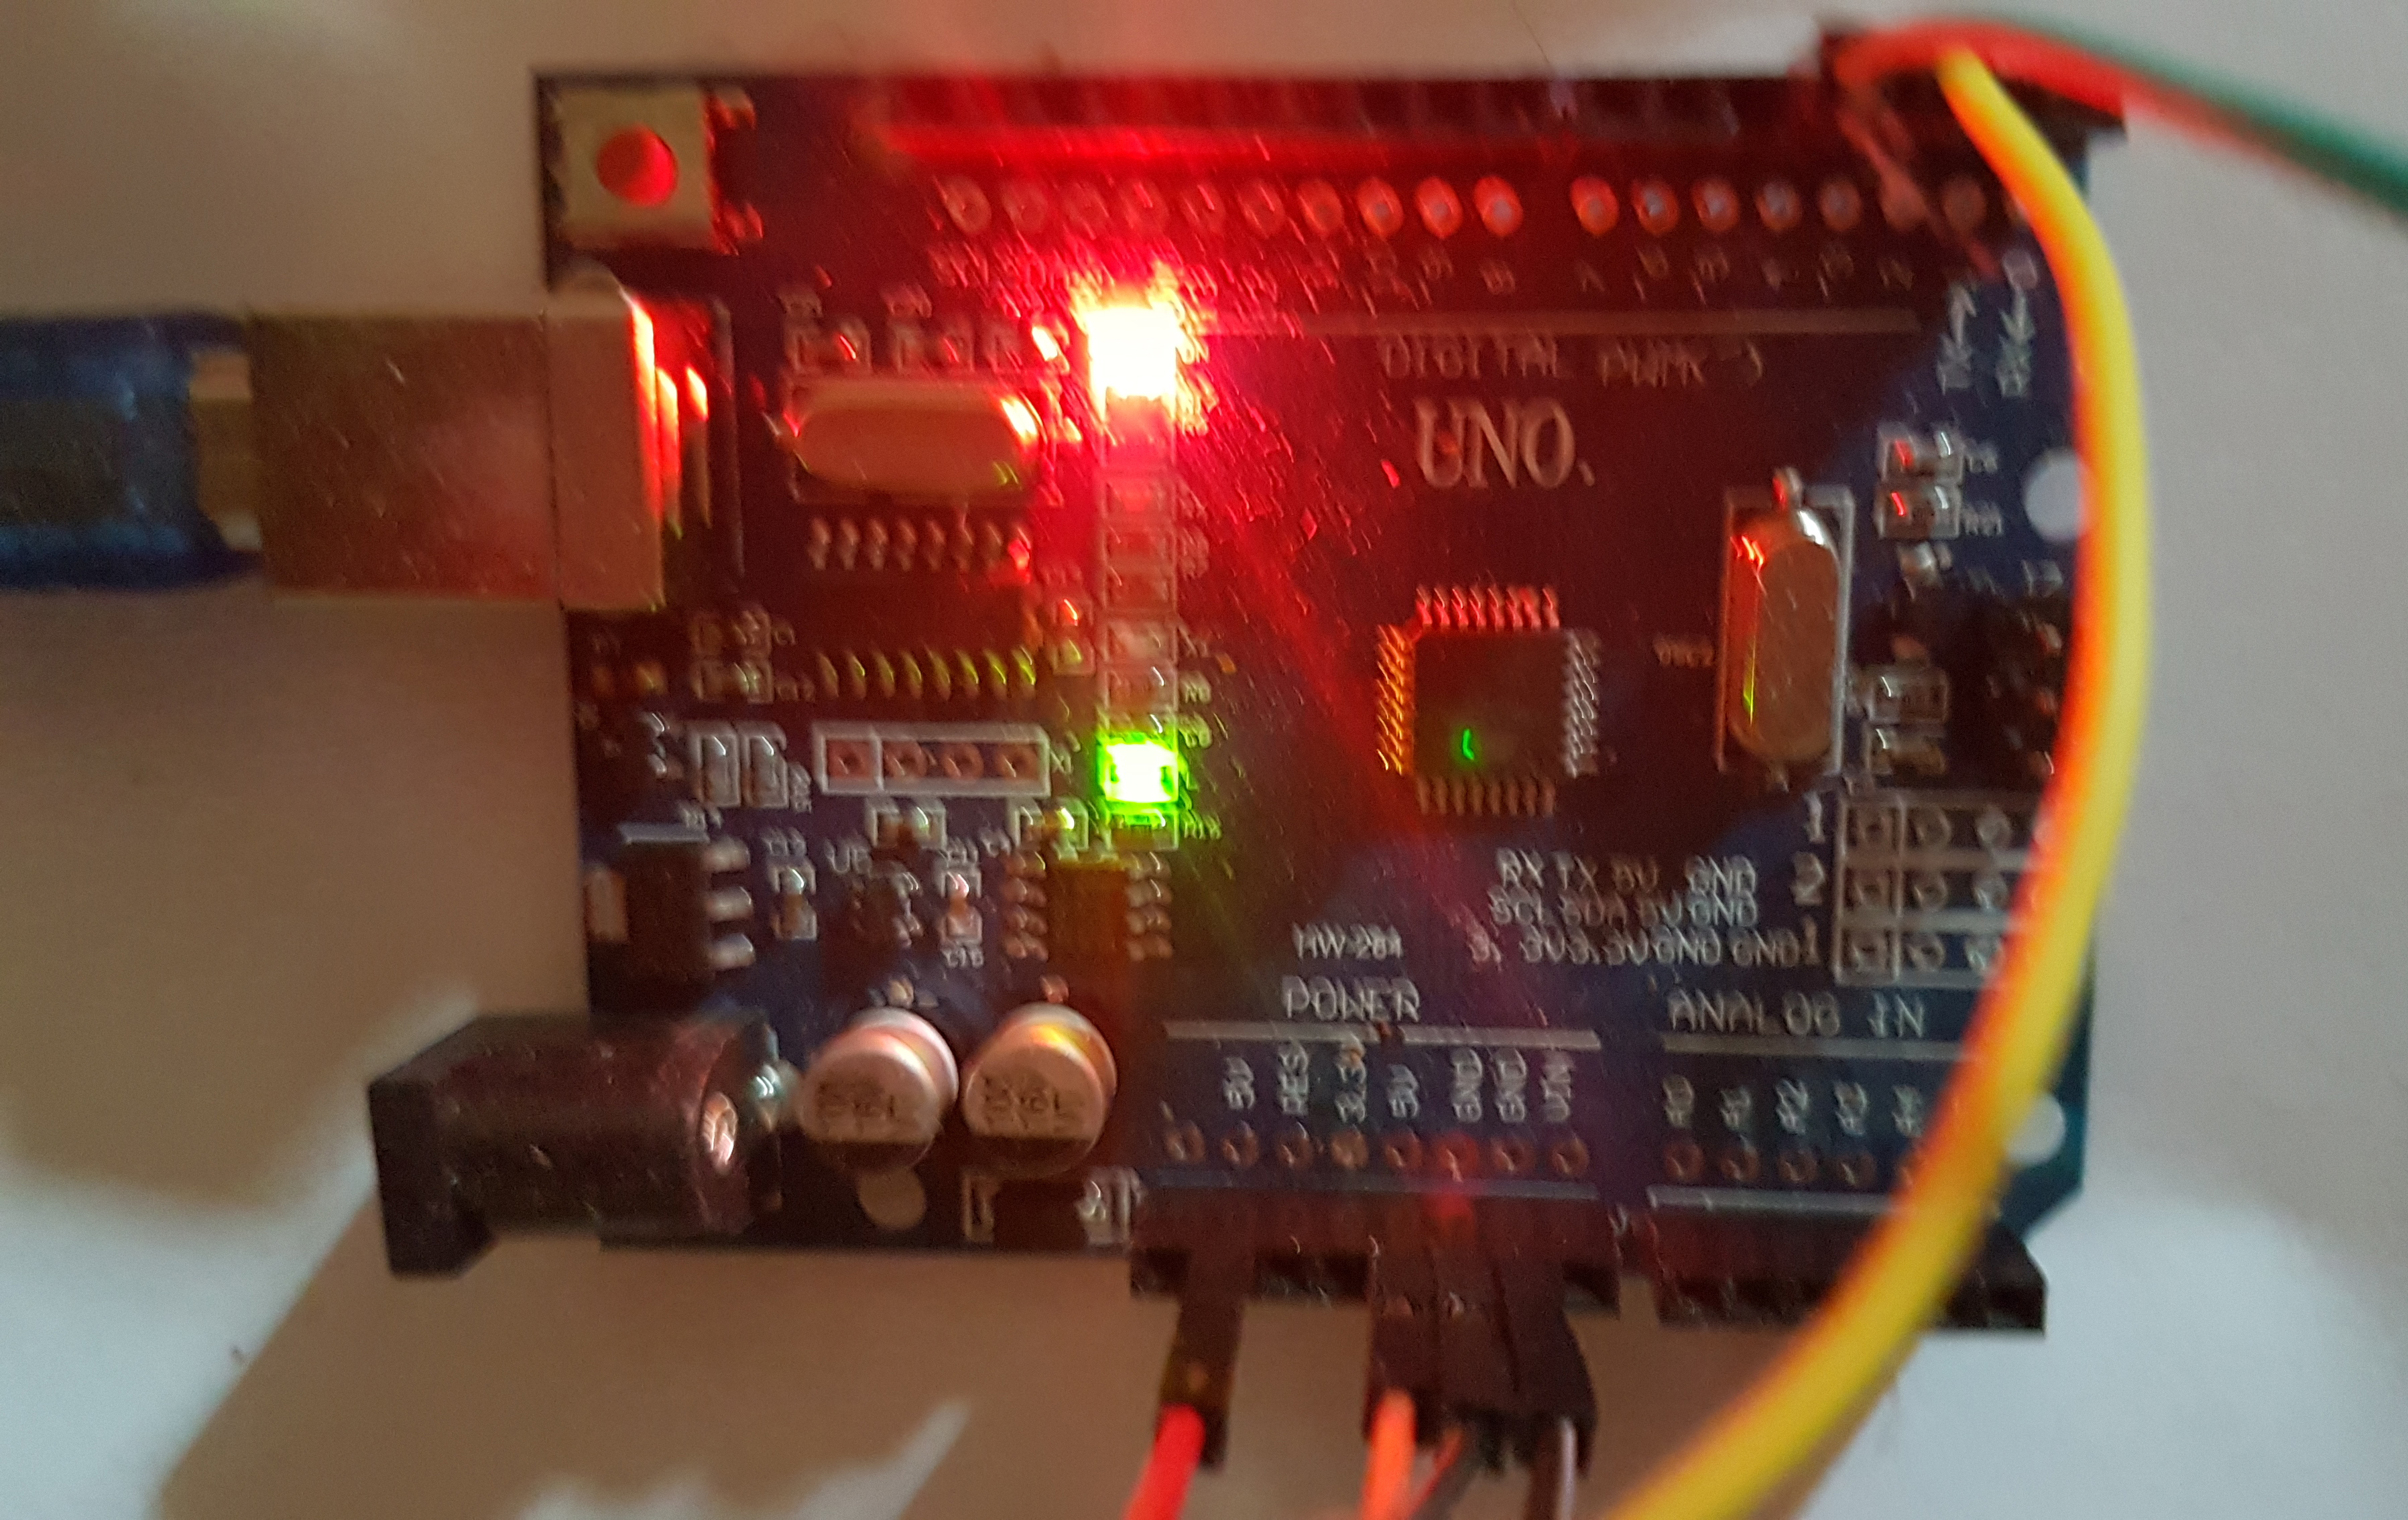
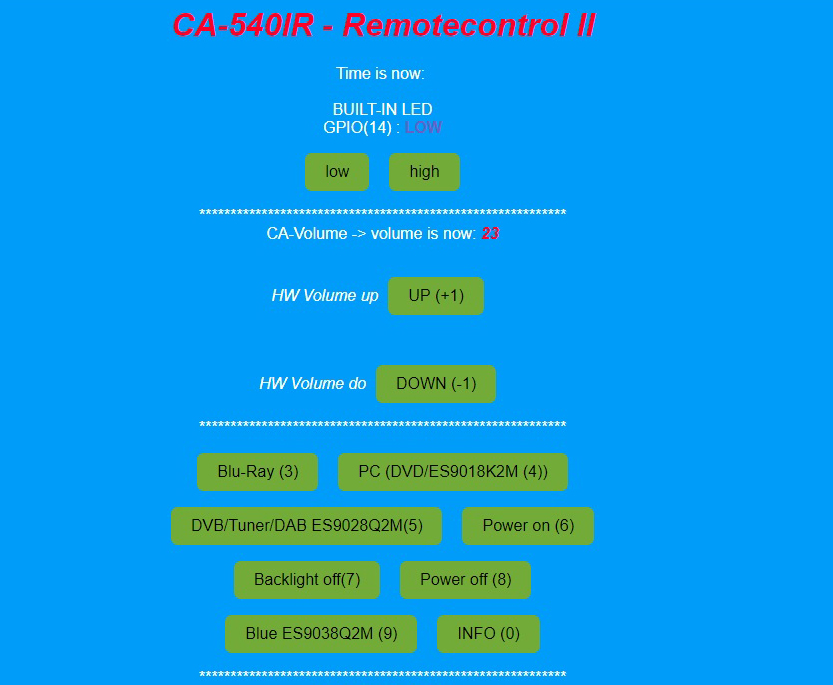
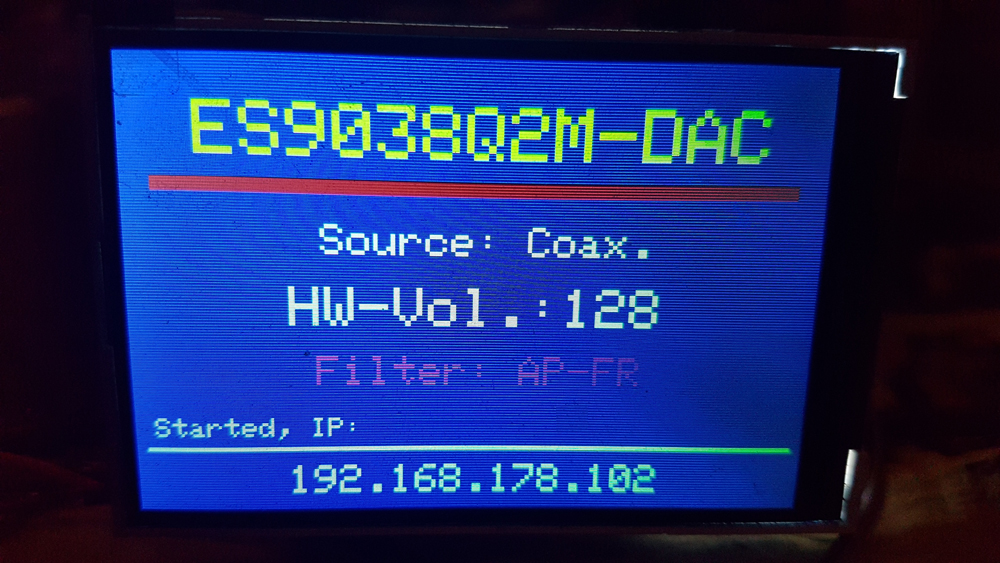
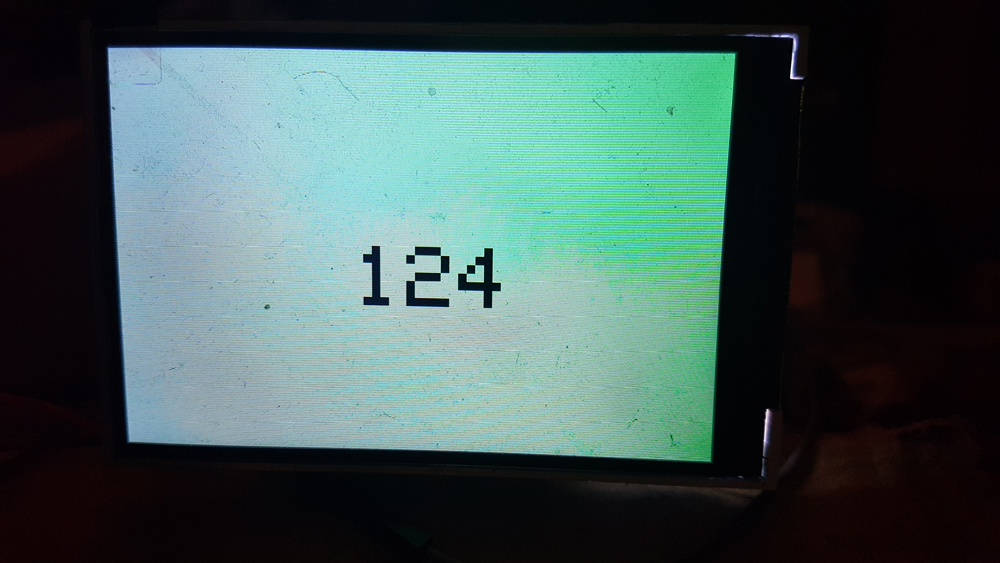
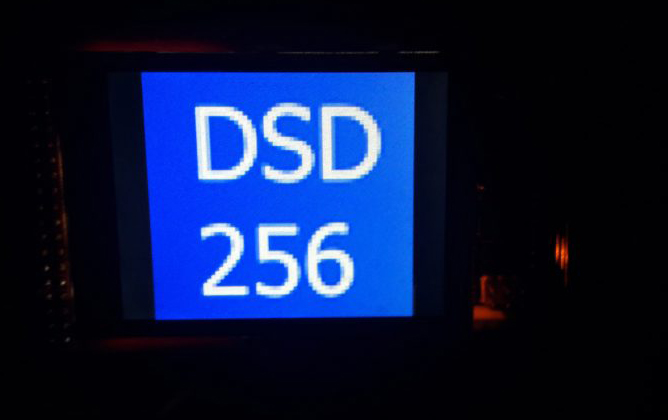
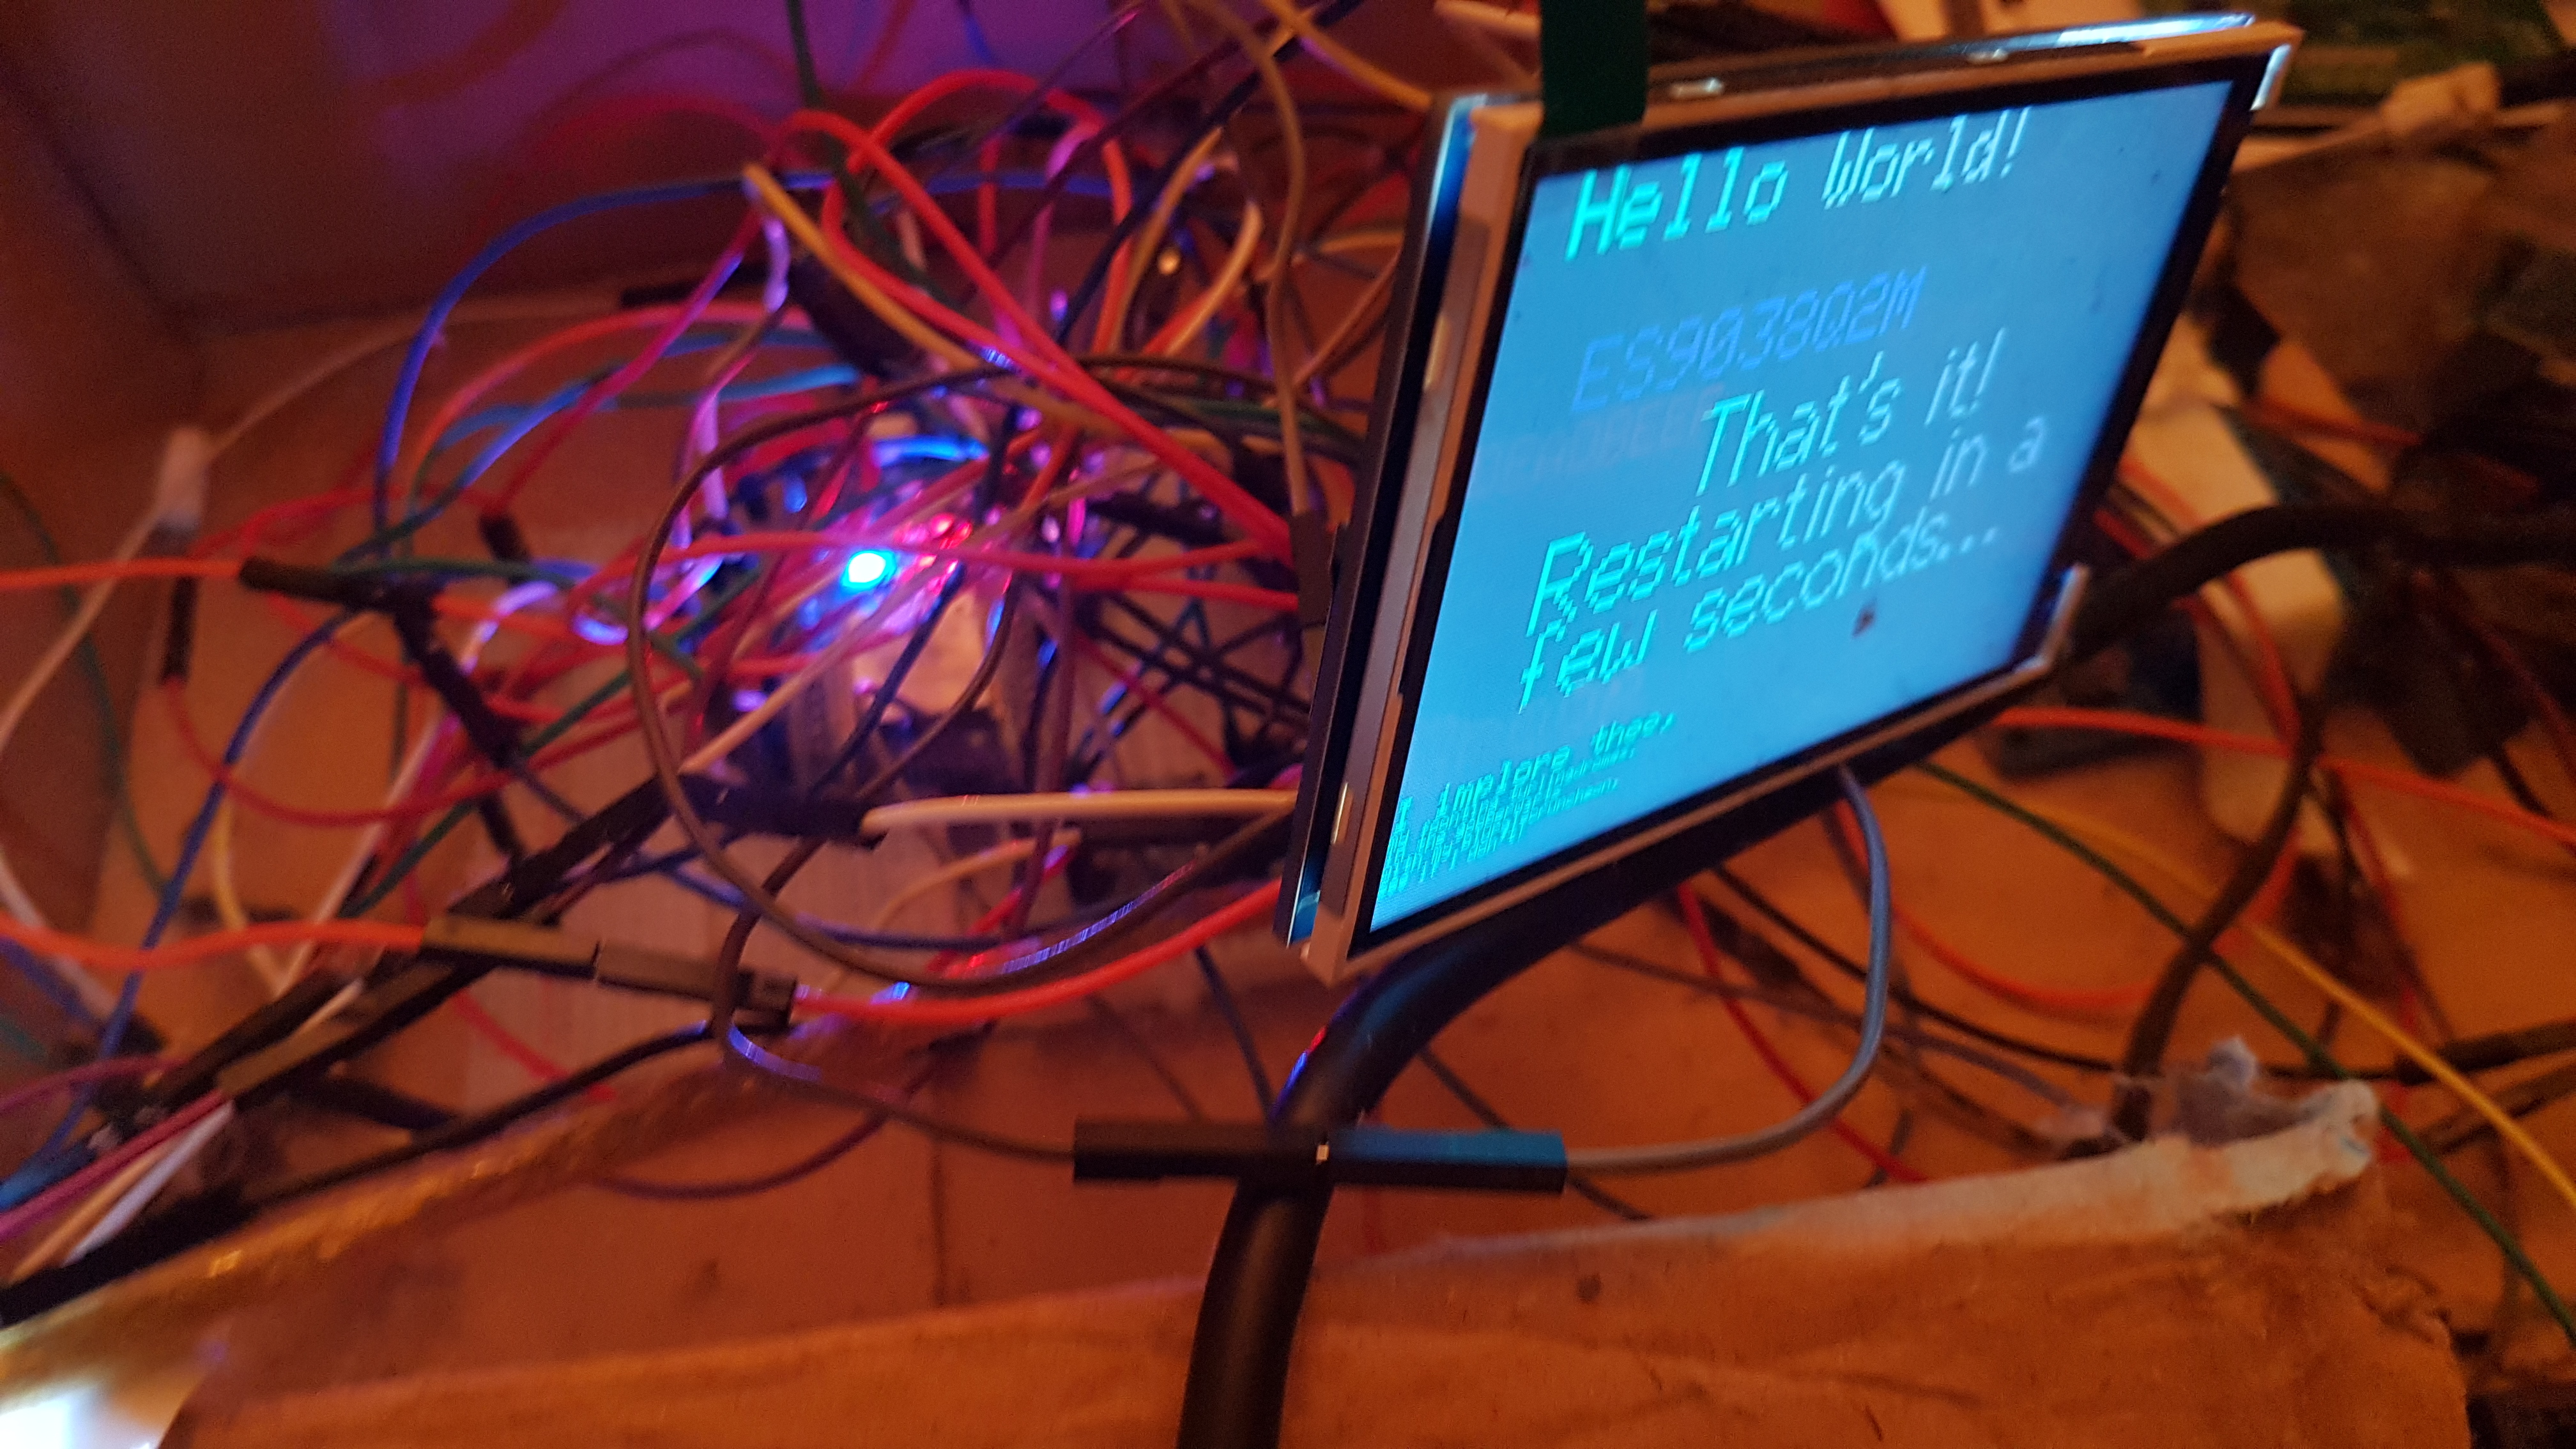
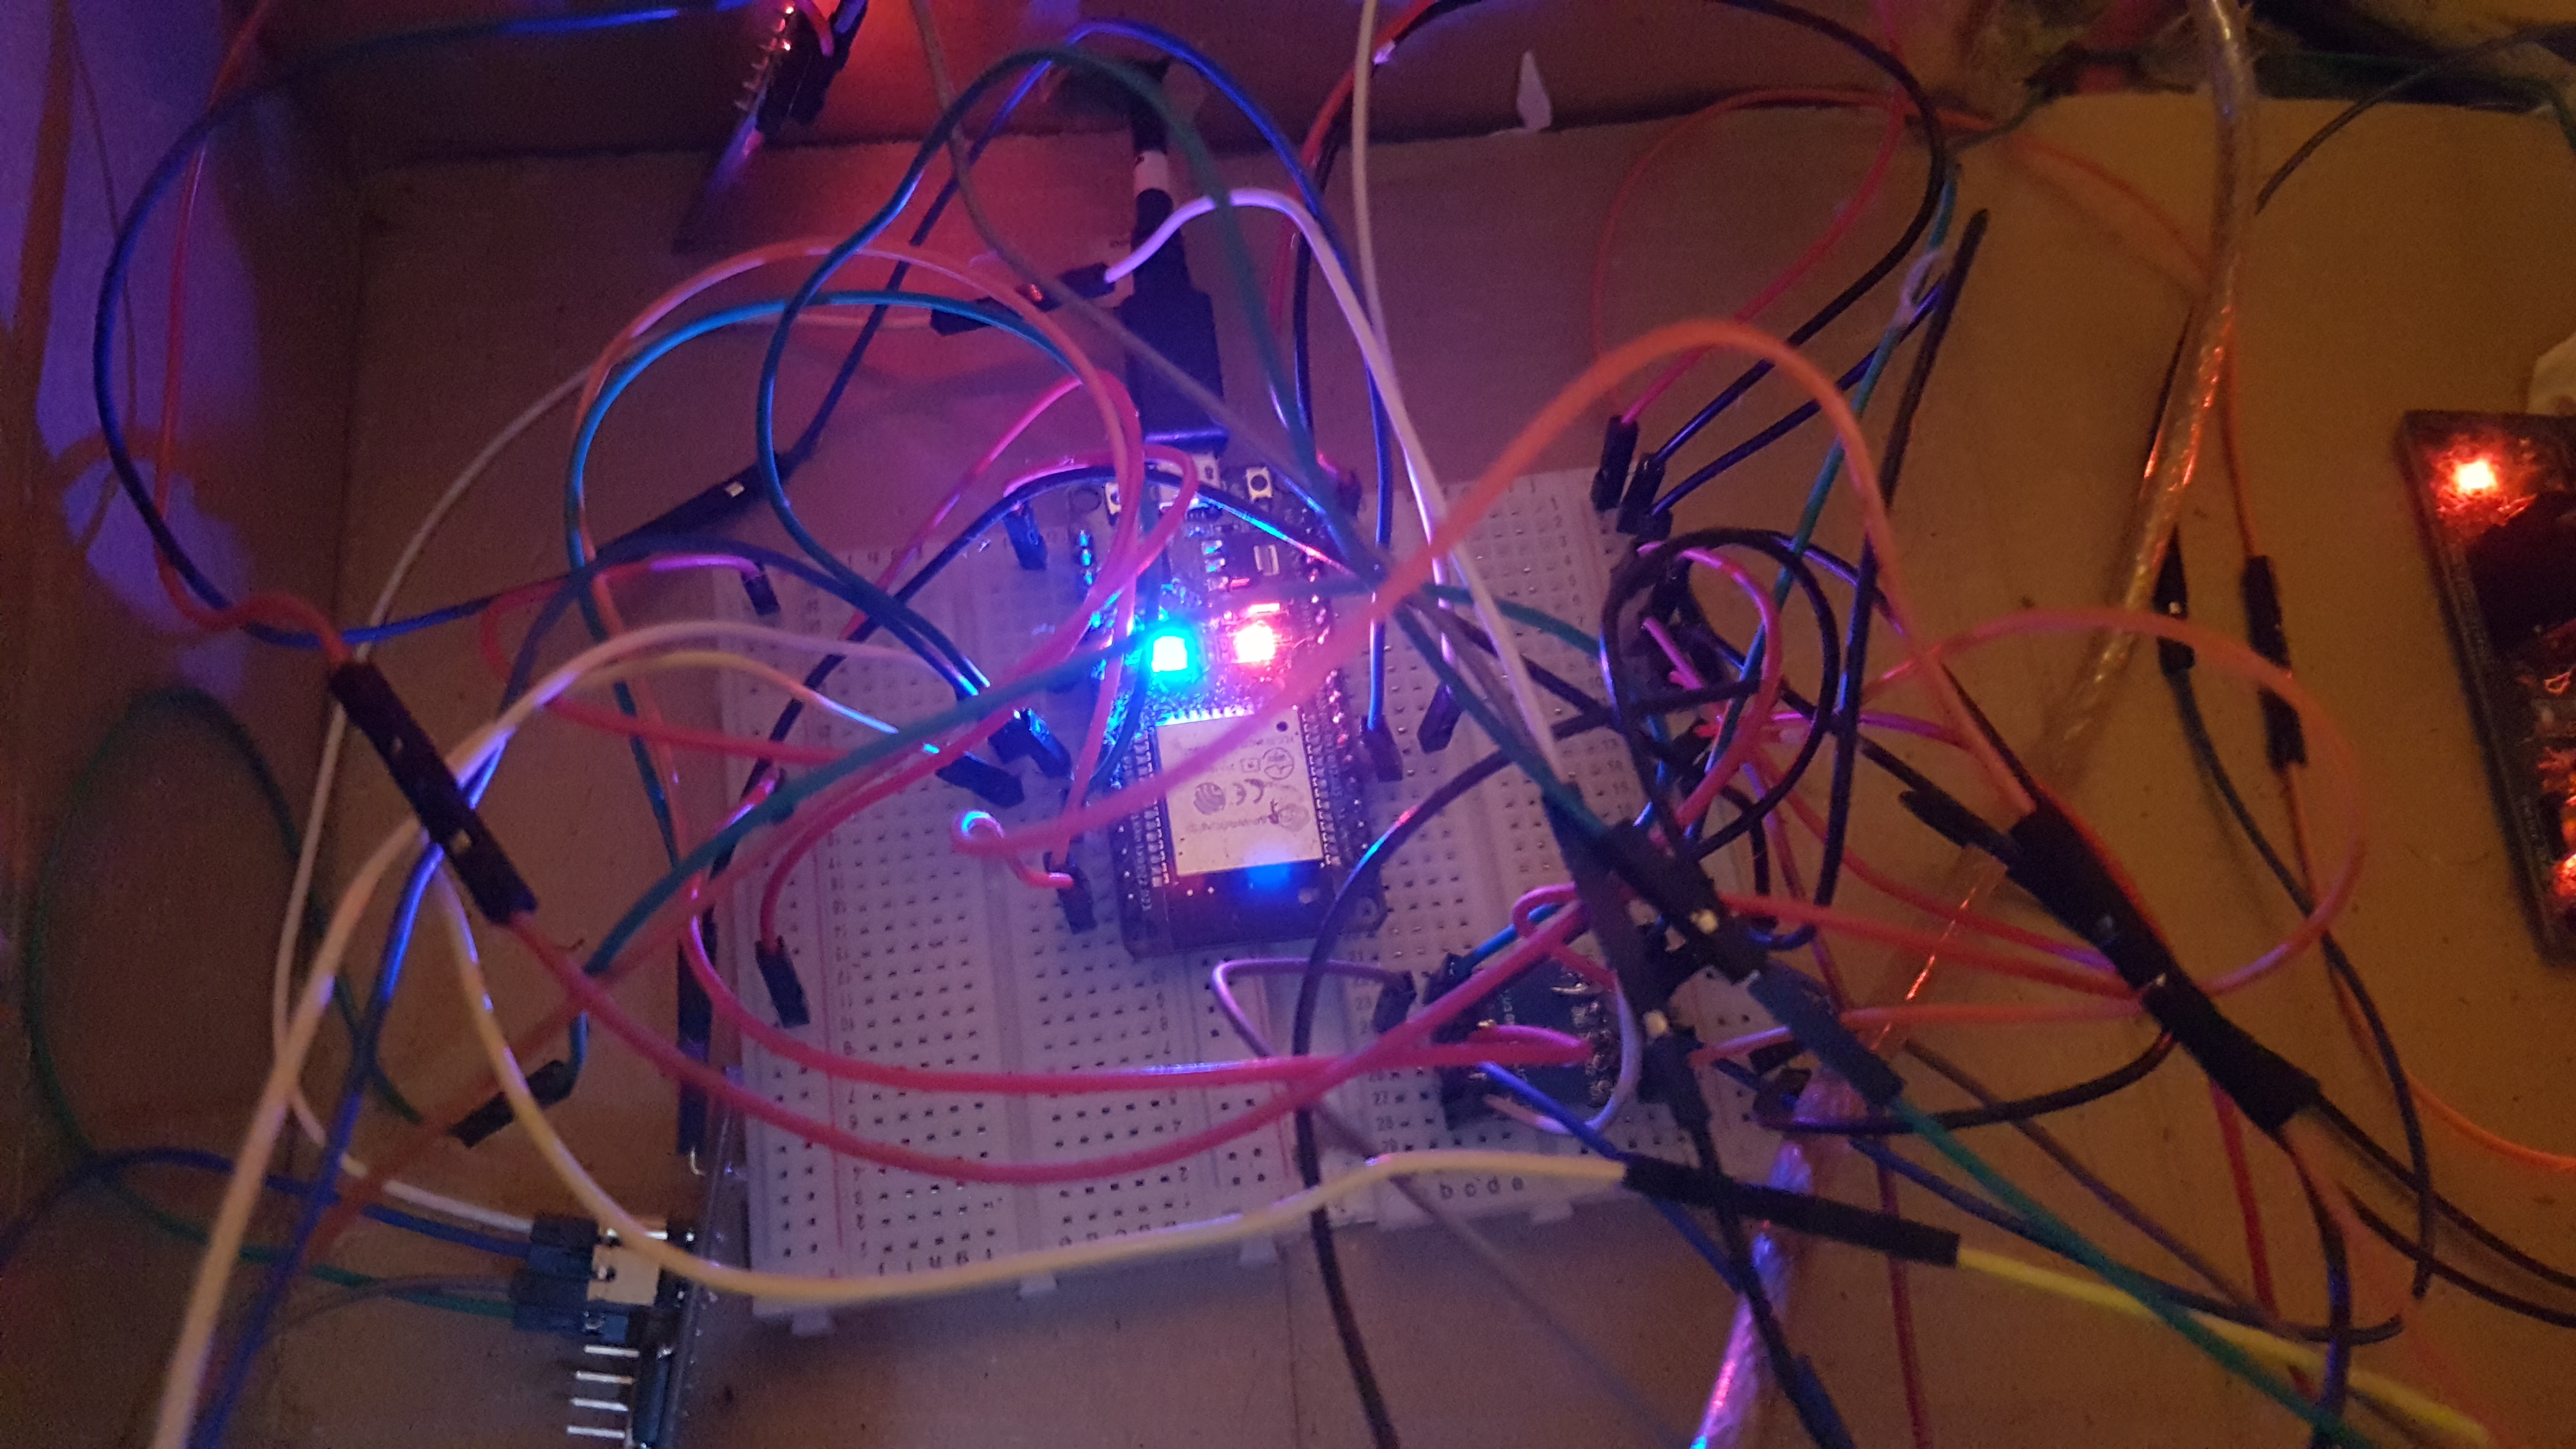
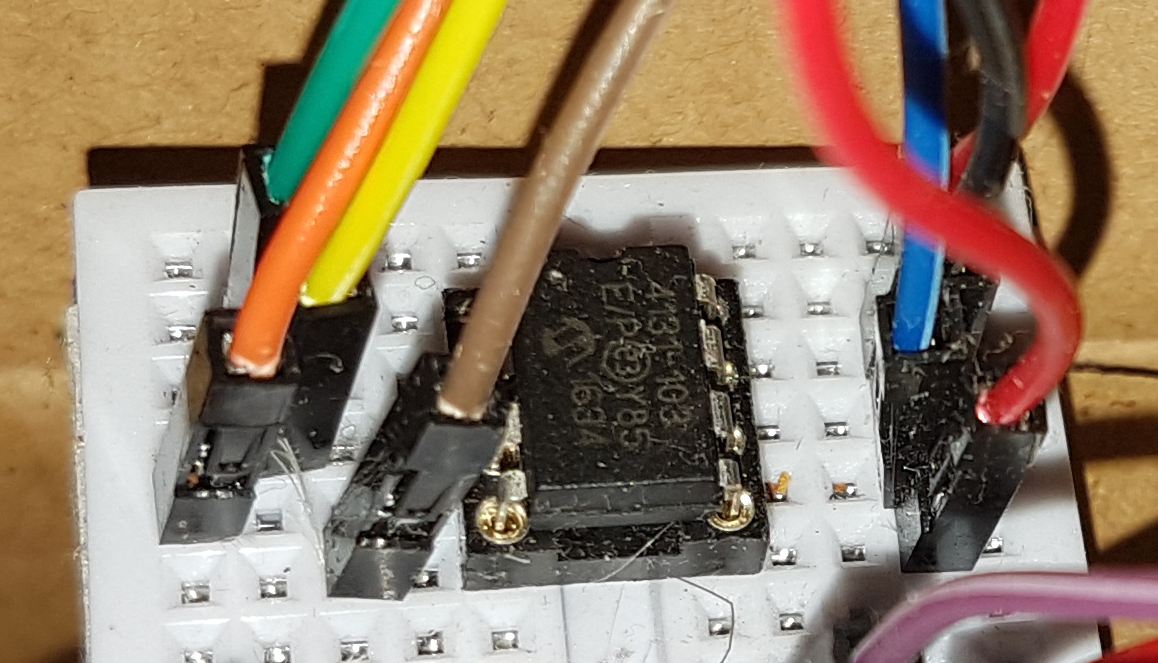
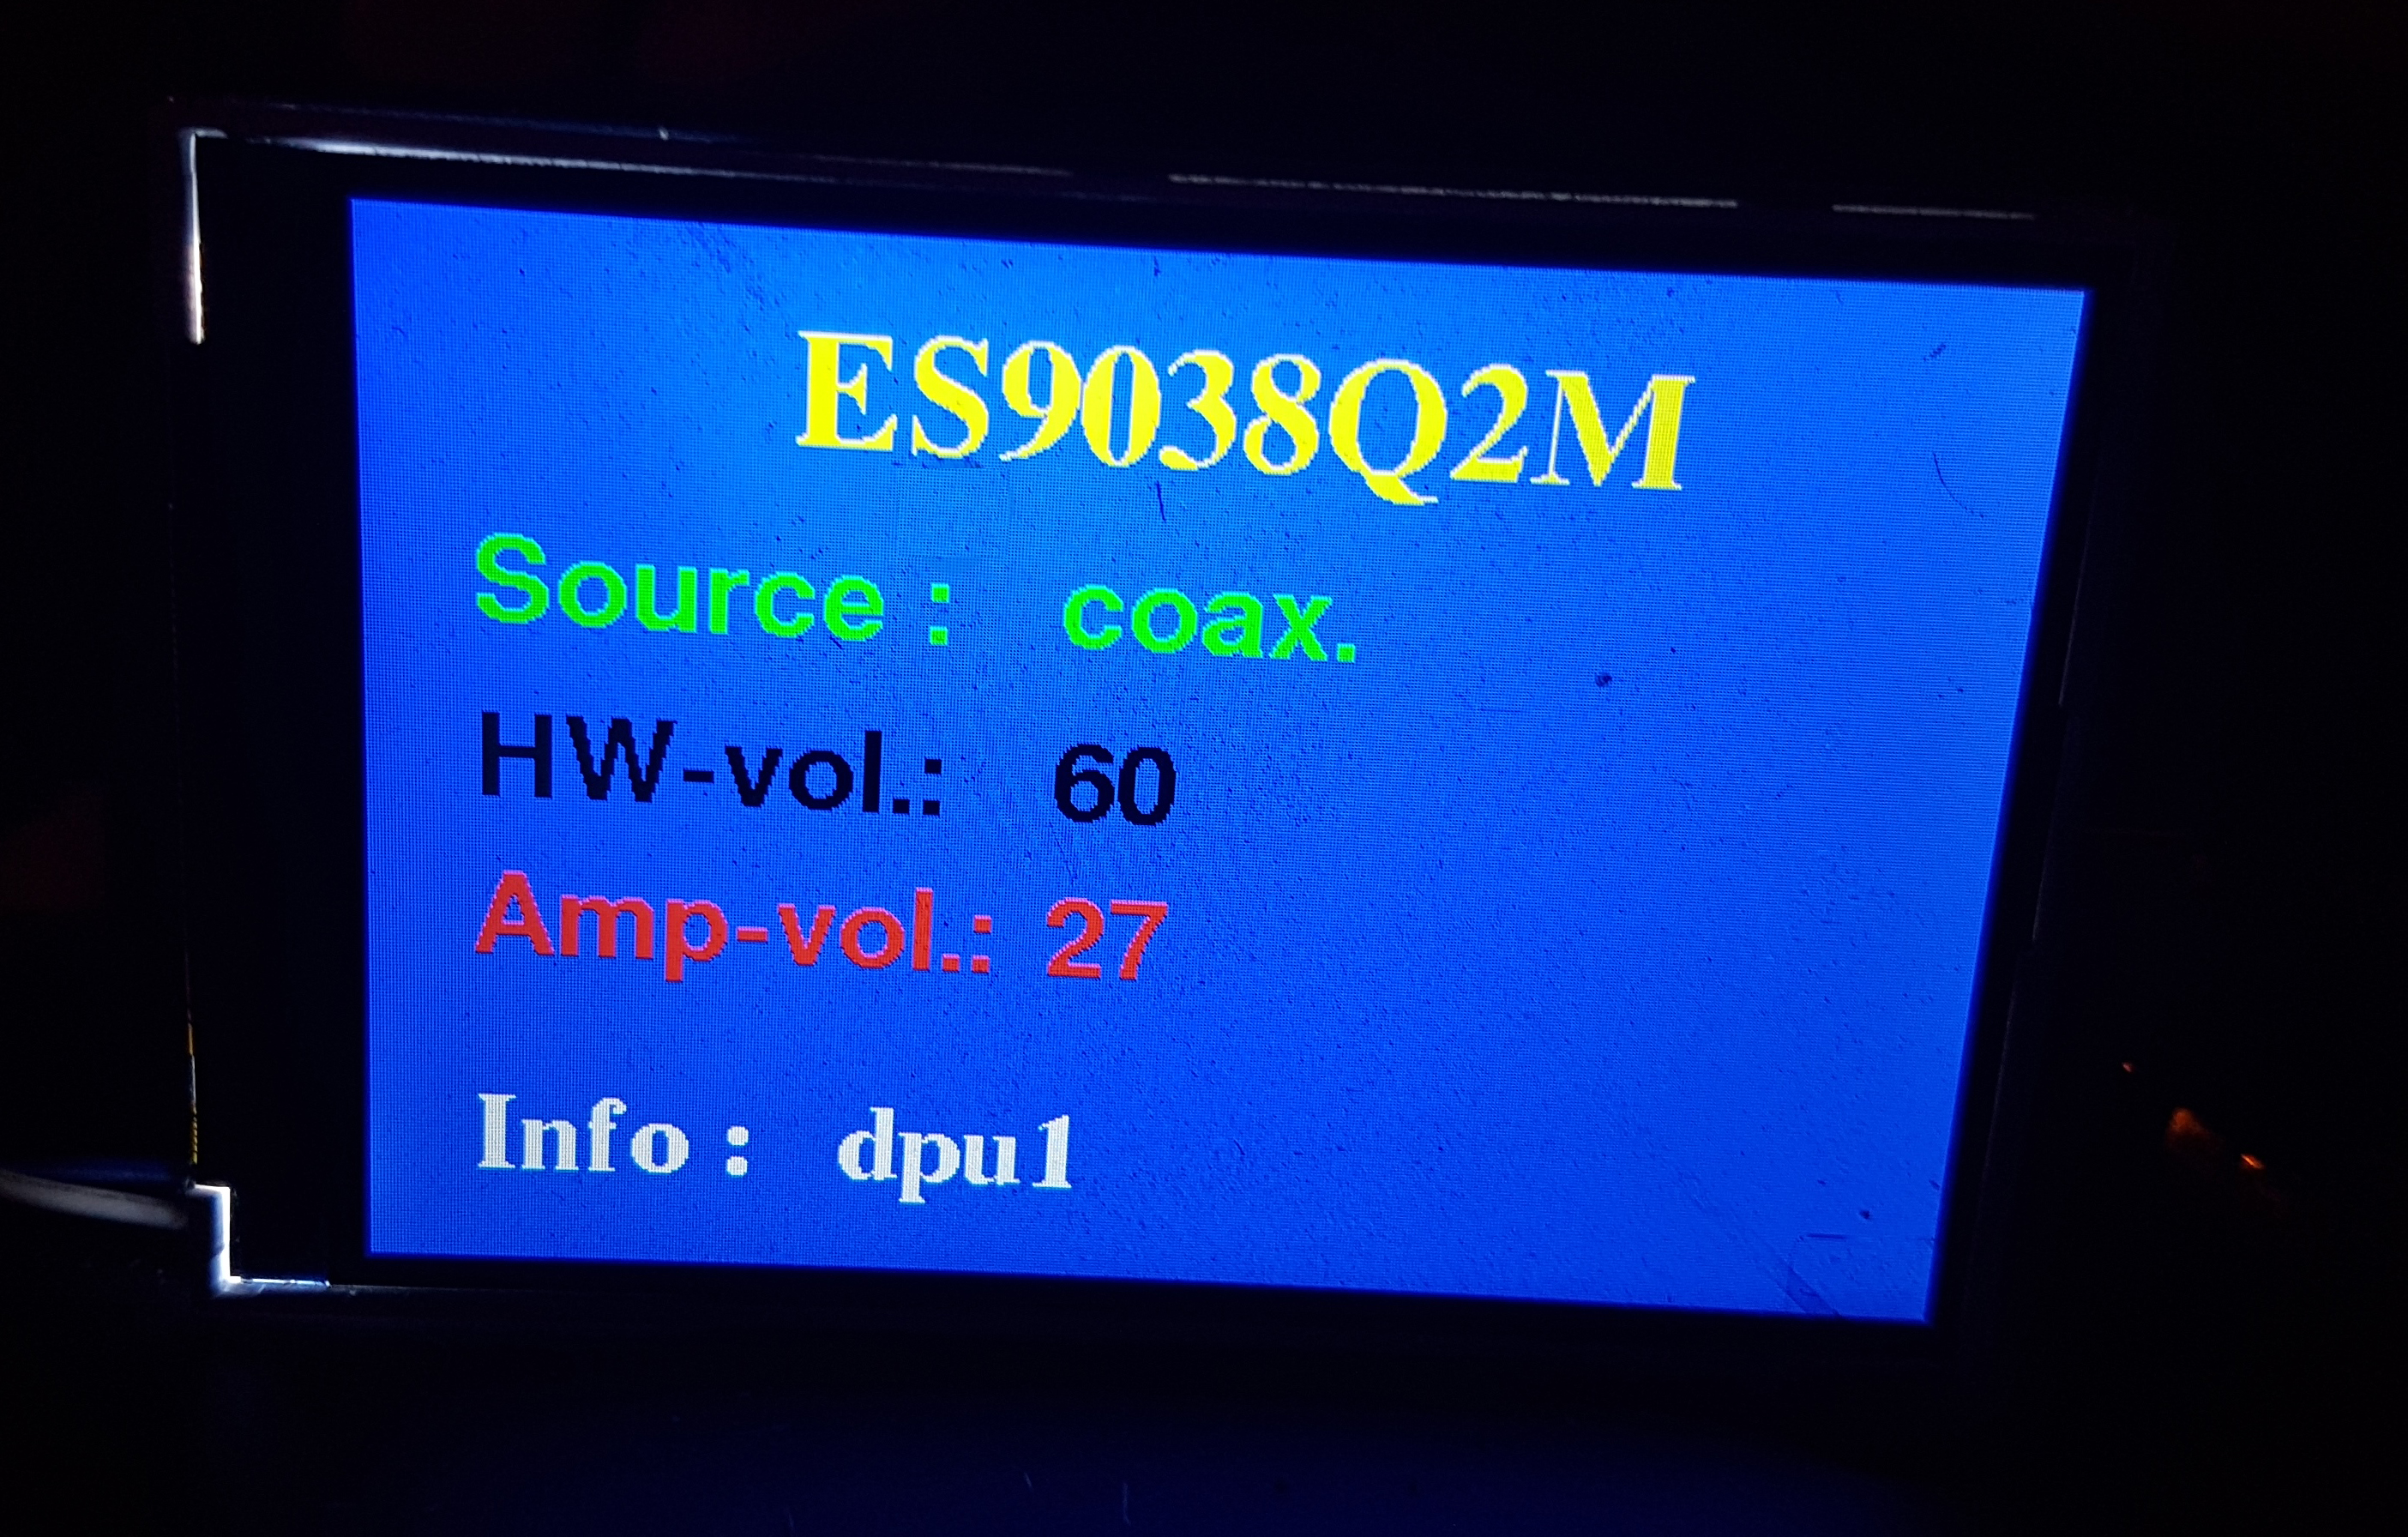
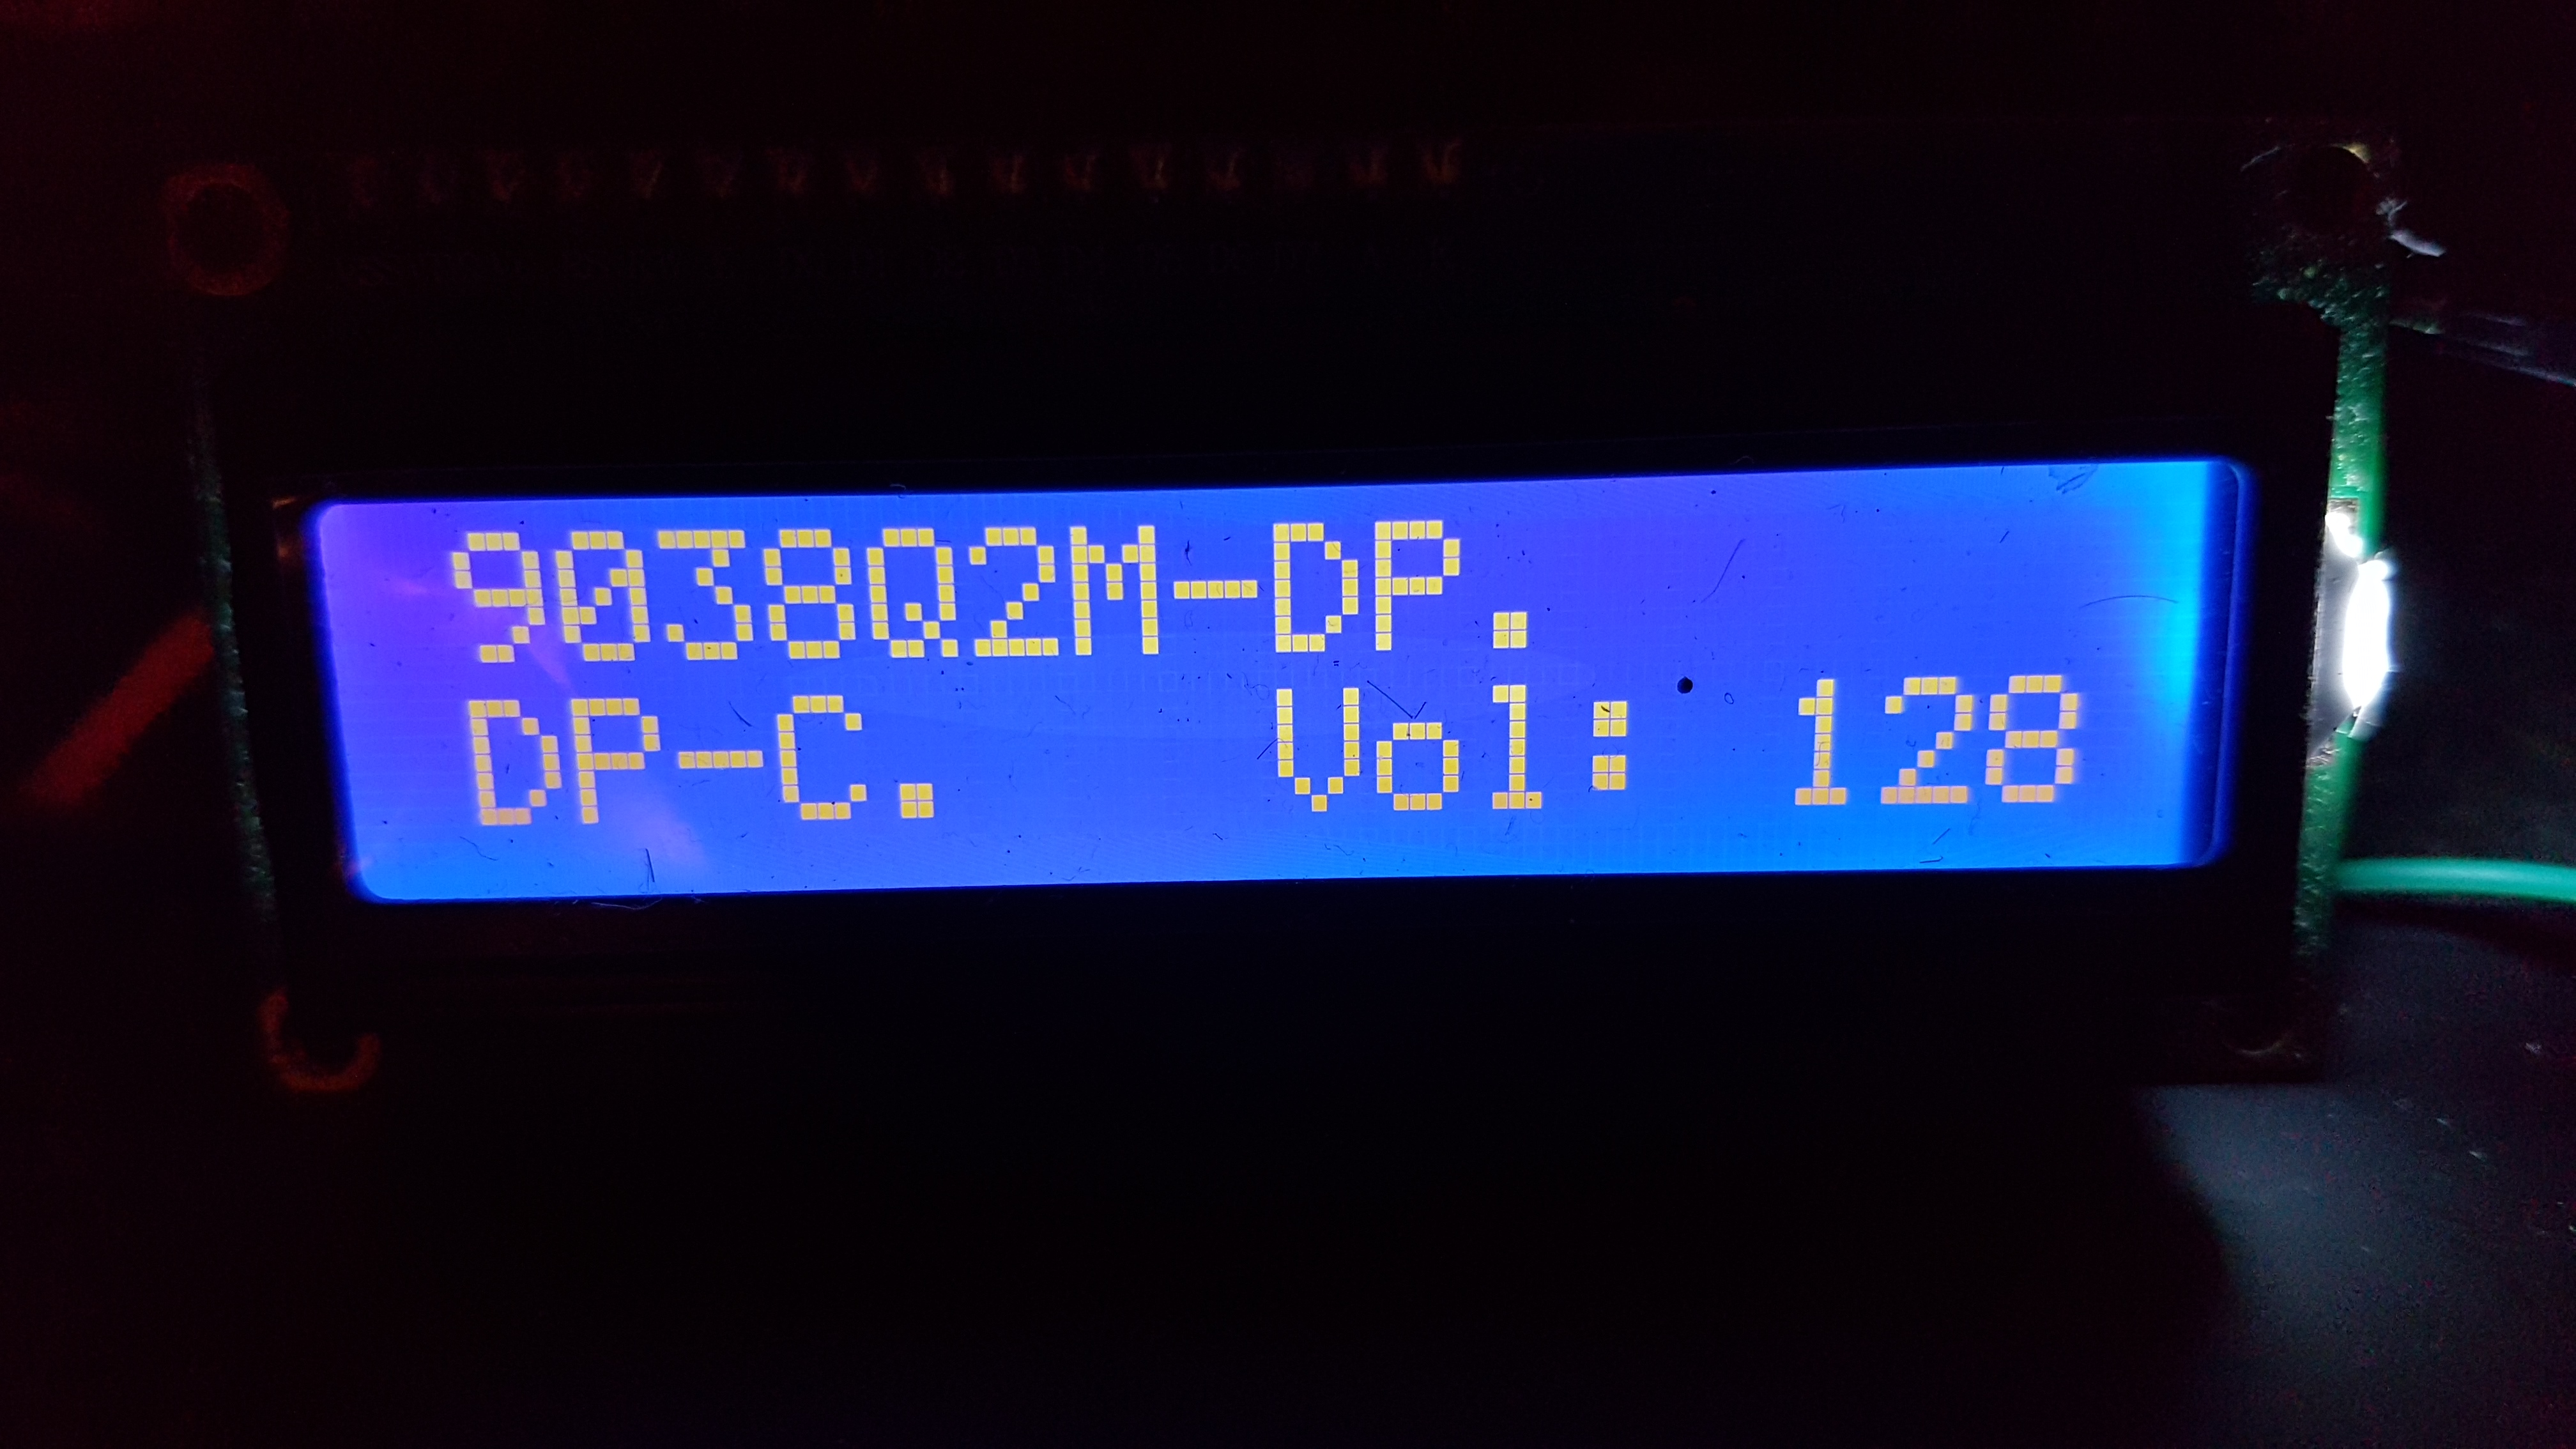
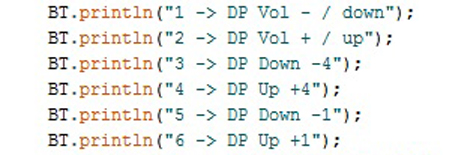
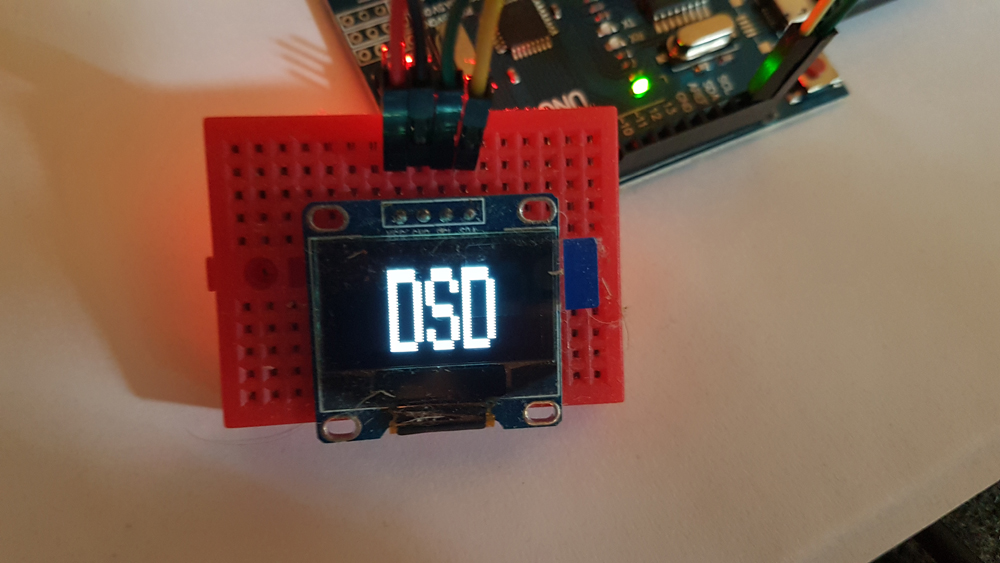
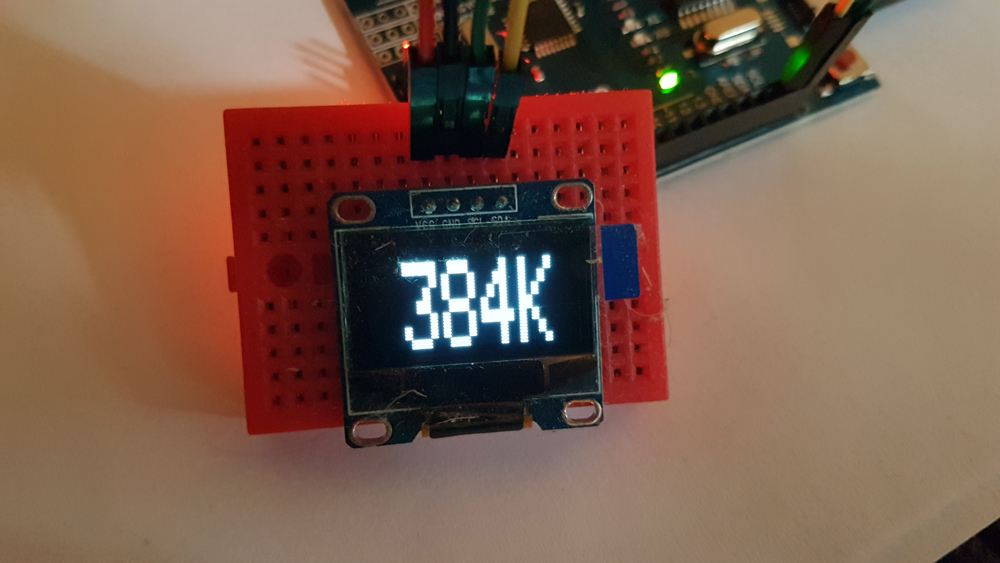
second i´ve ordered some SSD1306 mini-tft-display test-wise some months ago, set it up on the third !! Arduino Uno finally (i´ve ordered 2 other Unos “in-a-row” and they were both damaged) and got the following result (for u to see it in real life, to maybe get some ideas for your DIY-DAC)..

absolutely easy wiring + sketch;.ino is here->Link

third got by chance some really simple ESP32 Bluetooth-serial tutorial on “Random-Nerds“; ( 😉 ) maybe interesting for you->https://randomnerdtutorials.com/esp32-bluetooth-classic-arduino-ide/
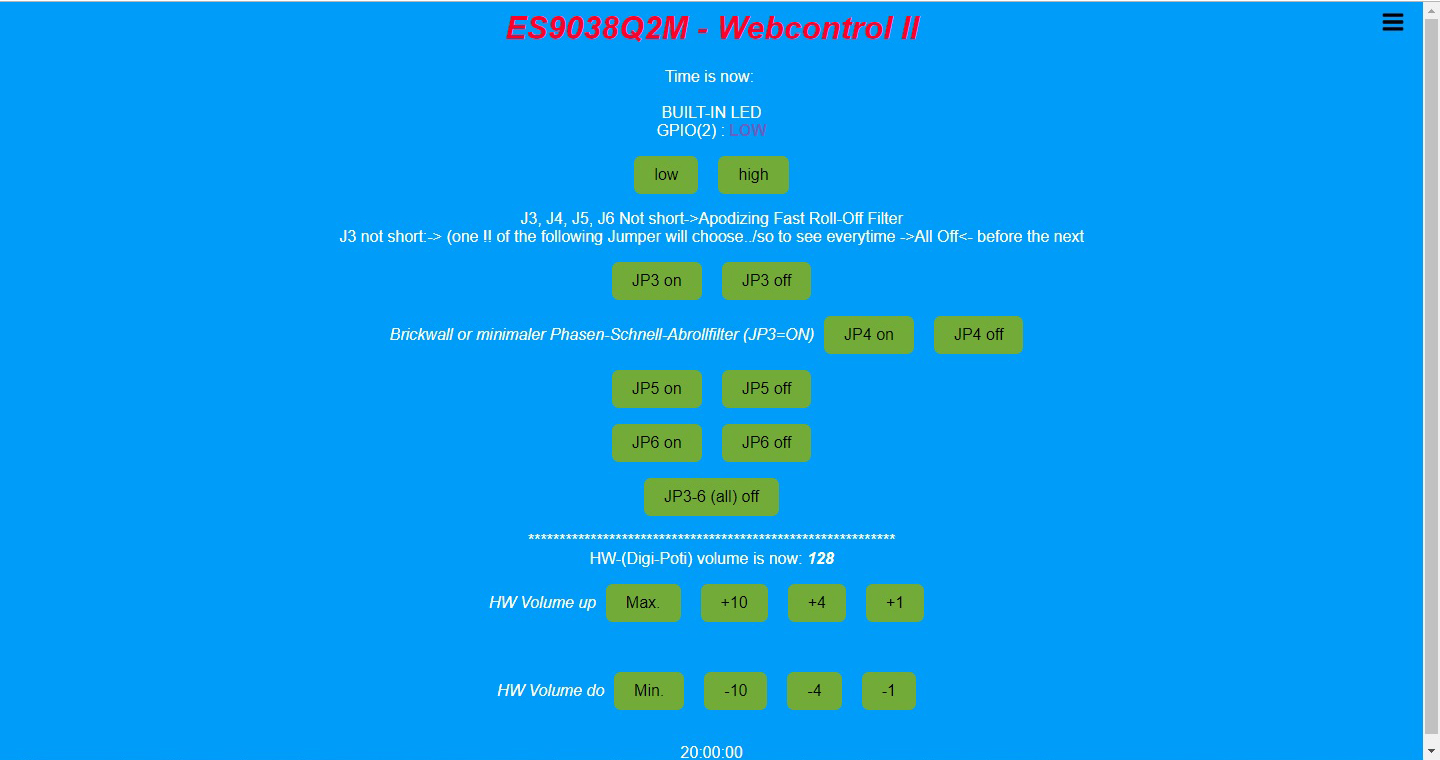
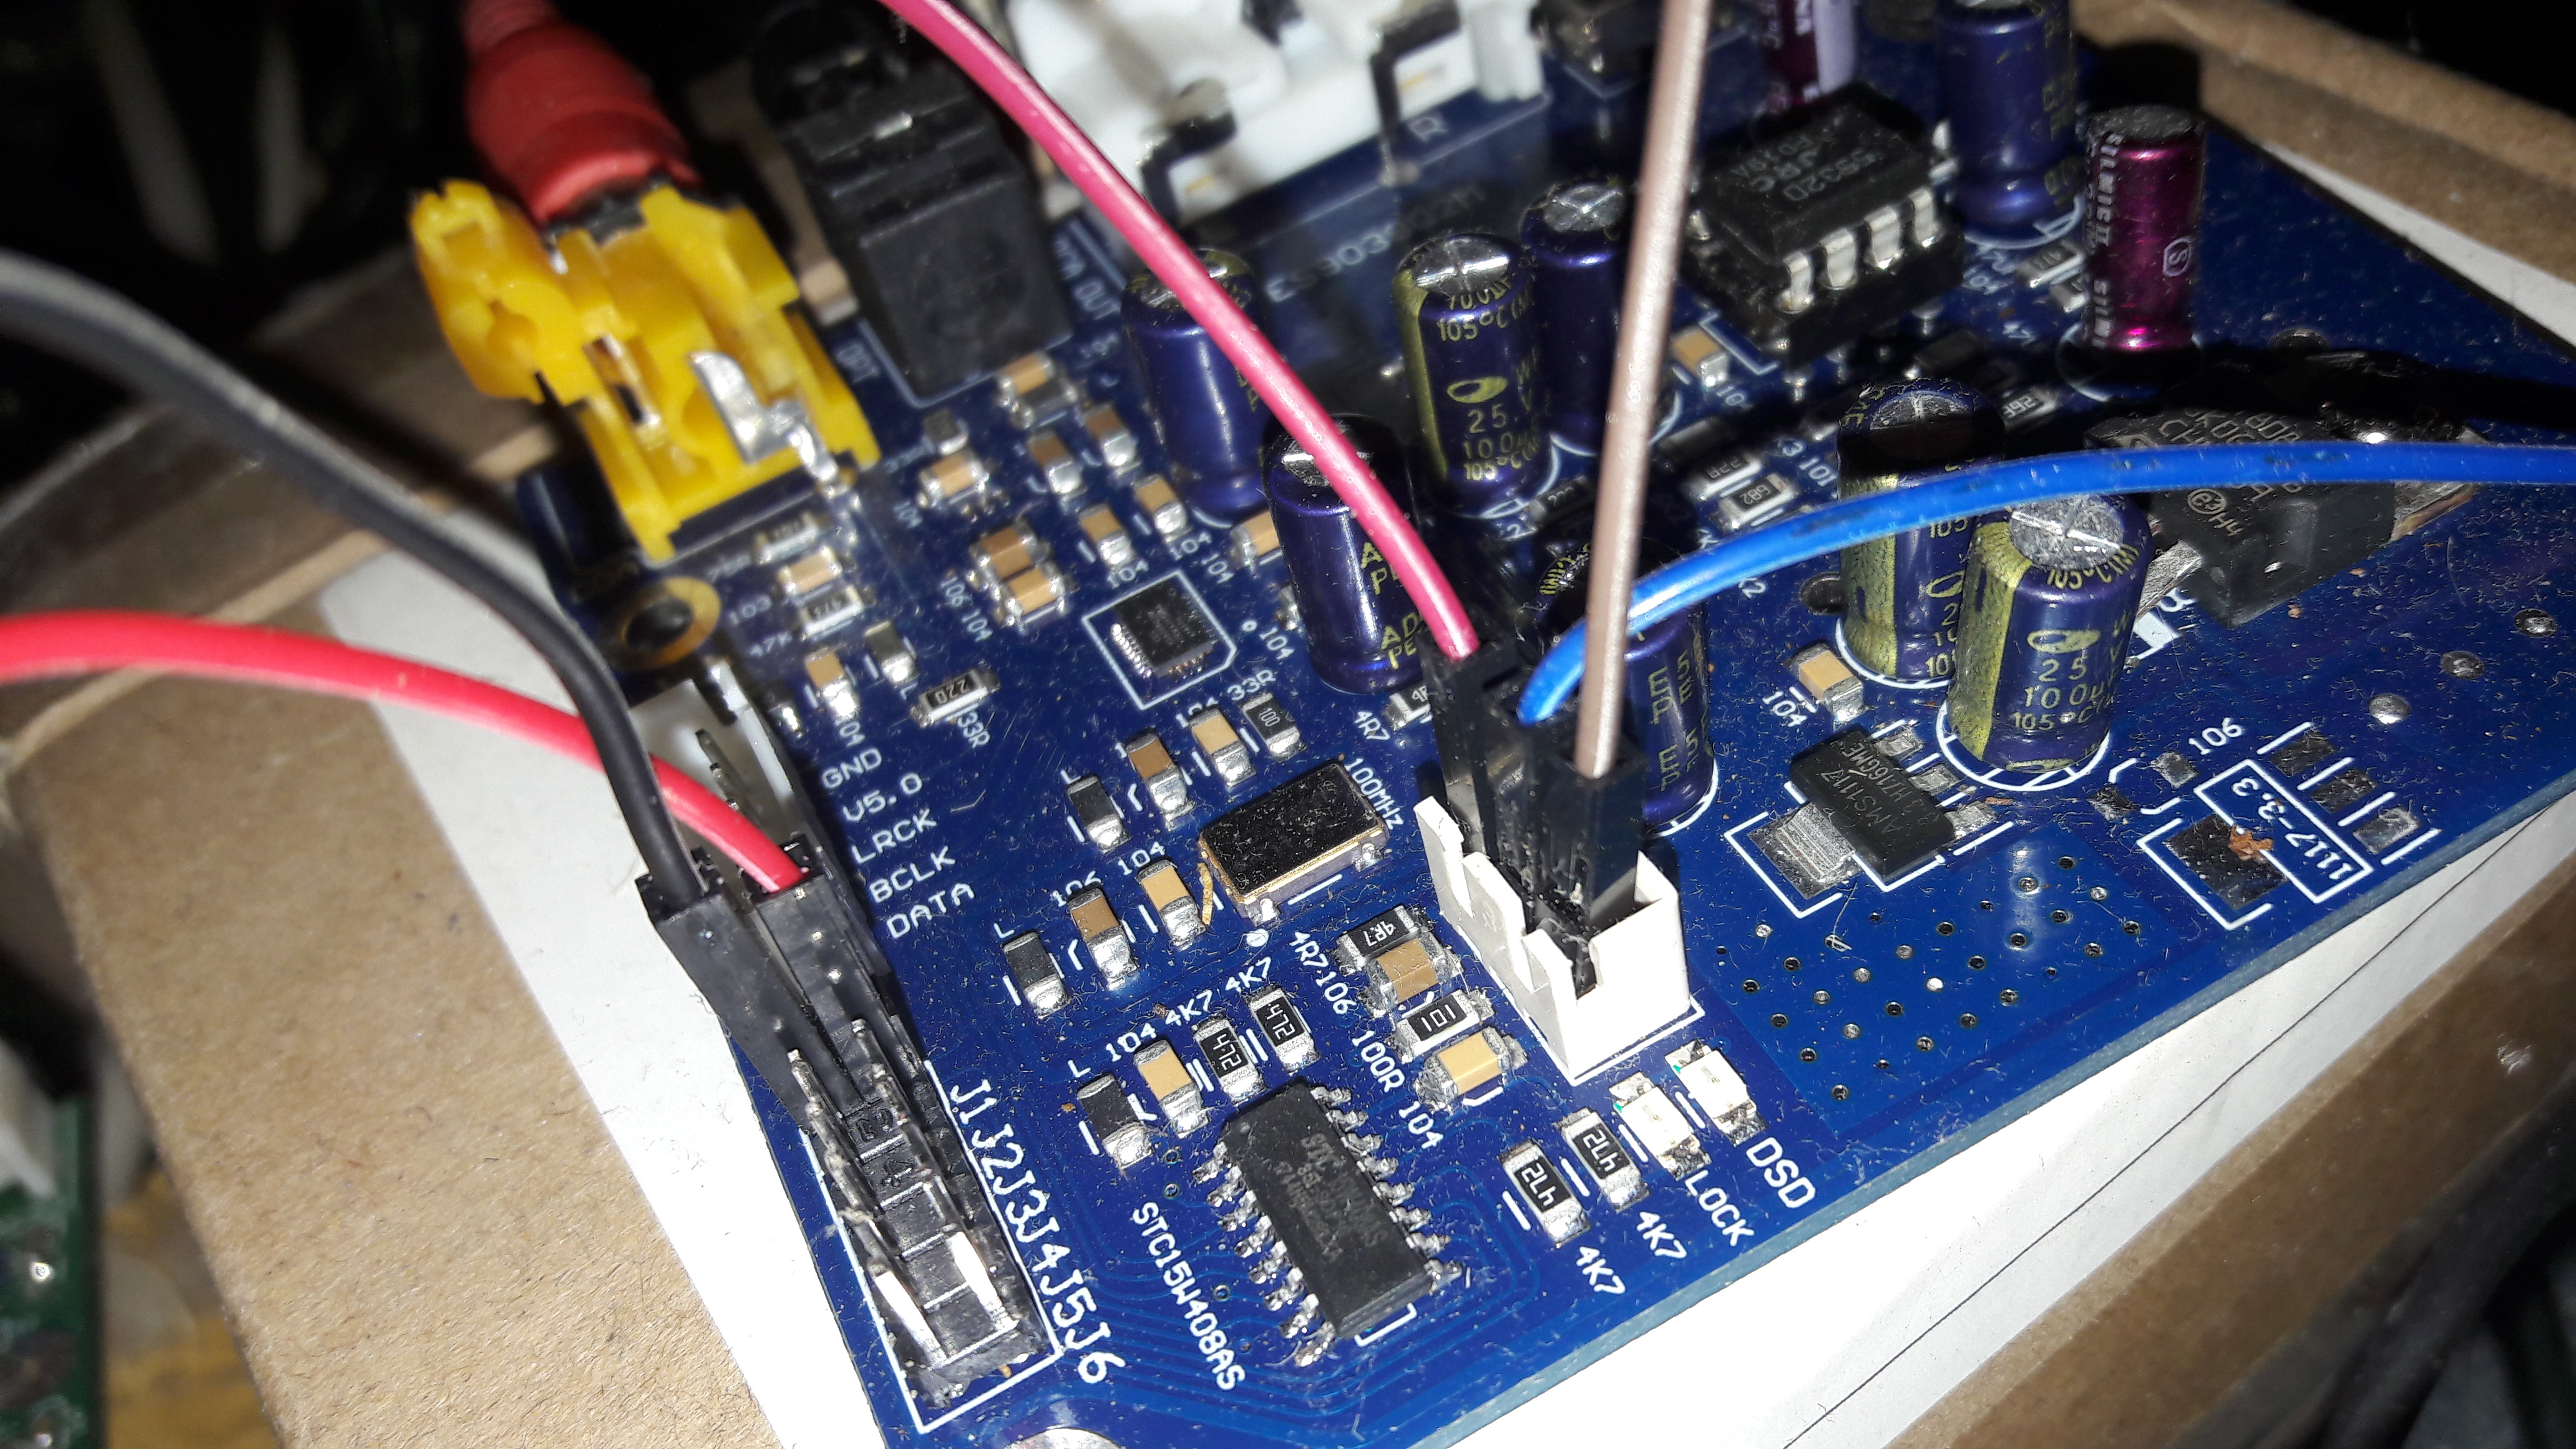
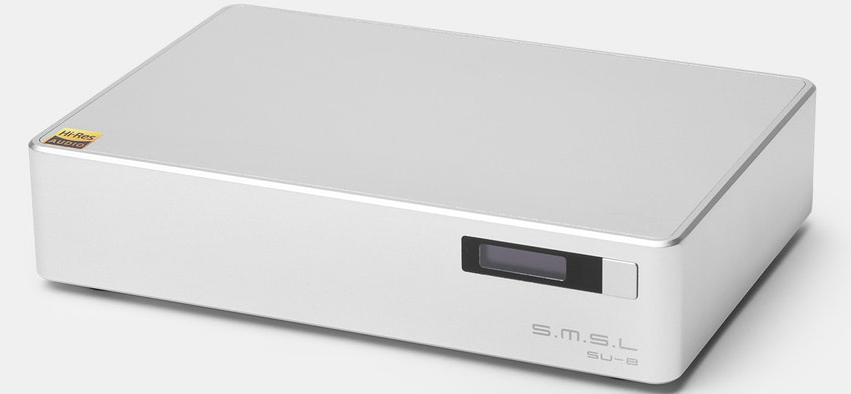
fourth no new Volumio-version is out and a new drop is the SMSL-SU 8 Version 2 with two (dual) ES9038Q2M for 200$ instead of 250$->Link


fifth, no other news concerning the ES9038Q2M, nothing spectacular in the diyaudio.com-forum about it->https://www.diyaudio.com/forums/digital-line-level/314935-es9038q2m-board-446.html
sixth i´m still planning to buy some 15V-0V-15V toroidal transformer and for the case i was looking for some “3D-printer”-layouts/submittals; had found a site (don´t know the url right now) and maybe we could make a new “thread” here or at the forum, for some “3D-printer”-submittals for the case !!

more to come + greets for now !!

Absolutely simple Arduino IR-repeater for Hi-Fi Gear Cambridge Audio CA-540A or other..

so, 😉
after i´ve made some IR-Remote substitutions for my Cambridge Audio CA540 Azur Amp (see “Project-1” and “Project-2” and so on) here on the site with first Bluetooth and then Web-Control i´ve finally made it “over-simple” 😉 and use an Arduino (2,50$) + some IR-receiver (VS1838B)(0,40$) + IR-Transmitter (0,40€) + some dupont-cable (also 0,50$ incl.shipping)->on aliexpress by example..->Link,Link,Link


the point was the right library for this and i used (many,many thx to “Eddy Yanto” !!) the simple IR-repeater-library on github->https://github.com/eddyyanto/ir-repeater
point was that in description it says:”..This sketch receives the infrared signal on standard pin number 3, decodes and dump the infrared information on Serial and forward the raw infrared signal to pin number 4.”; but that works not !!
in the .ino on the other hand it says:”..int RECV_PIN = 4;
IRrecv irrecv(RECV_PIN);
IRsend irsend; // Defaults to pin 3” and thats the opposite !! (works with the .ino-settings now of course)..
tried to reach him via e-mail to correct the description->no success until now..
anyway, u can now use almost any (hi-fi)-remote; place the ir-receiver at some point near u (and to which your remote can point/send to of course), make a dupont-cable-connection to your arduino in any length u wish and from there also in any length to the ir-transmitter !!
(the sketch only receives + transmit->no more other modifications to do in the sketch !! (noob-friendly 😉 )
easy as this and thats it ! 😉 (Total costs: 4$)
(working sketch is here btw.->Link) and on Github of course, again->https://github.com/eddyyanto/ir-repeater
by that i´ve bought some Burson V5i as D (Dual) and will report then about it !!

greets for now 😉

“Arduino goes serial with the ESP8266” / quick and dirty tutorial..

so, 😉
in waiting for the new Op-Amp (and looking for the right case + +-15V toroidal transformer), i´ve revived an old WeMoS D1-R2 (ESP8266)for using it with my Arduino-Cambridge-Audio-IR-Remotecontroller substitution (as wifi-/webcontrol)..
quick and dirty tutorial in the forum->http://essabre-90xx-rpi.sfb2.com/forum/showthread.php?tid=89

nothing special, only that i had great problems in using the softwareserial-library on the ESP8266 and that i used “Serial1” instead (via “D4” (GPIO2)-“Serial1.begin(9600)”)
the sketch for the ESP8266 is built around the wonderful, wonderful “autoconnect”-library by “Hieromon”(as posted before)->https://github.com/Hieromon/AutoConnect

more to come, greets for now !! 😉

ESP32 – Bodmer TFT_espi / autoconnect github / Picoreplayer 4.1.0 / Dietpi V6.18

so, 😉
nothing particular new; “audio”-wise its a little bit on “hold” (had first to buy some +-15V toroidal transformer and so on) but i made a little progress/effort “usability-wise”..
i´m now able to get something in the spiffs-fs (ESP32), read it out 😉 and display it via “drawJpeg” from the famous Bodmer TFT-eSPI-library->Link

(!! sorry for the still absolutely “shitty” layout, but i was only happy to get something on the display at all 😉 !! (will change/edit it then; only some “ideas” (for not doing it in this way 😉 ) for u maybe)
was a little bit difficult because u (i) really need the absolutely newest libraries (jpegdecoder.h for example too) from the bodmer-github-repository (some older example jpgs are unreadable by their own decoder-library and so on..)..
have still some problems/the first third of a decoded jpeg is corrupt, but i can now upload some jpegs in the spiffs, list and display them..(and understood how)
the whole sketch (web-gui for filter-selection, HW-volume control via digi-poti, display jpgs etc..) is here->Link and i maybe make a post in the forum->Link..(could be very interesting for some who also want to understand the ESP32 “better”)..


by that it was all build on top of the absolutely fabulous “Autoconnect-library” by Hieromon -> https://github.com/Hieromon/AutoConnect; absolutely super great webserver/wlan access library->absolutely to recommend !!
Picoreplayer is now at V4.1.0 (24.Nov 2018)->https://www.picoreplayer.org/main_downloads.shtml(Pi-Kernel-bump to 4.14.81, squeezelite-update, support for Rpi 3B+ and so on->Link
Dietpi is now also at V6.18 (26/11/18)(some bugfixes+improvements)->https://github.com/Fourdee/DietPi/blob/master/CHANGELOG.txt
that was it for now, more to come, stay tuned, greets 😉

Project 3: read out/write data (over I2C) via the onboard mcu ES9038Q2M/-ES9028Q2M

so folks 😉 ,
essabre-90xx-rpi.sfb2.com needs your help 😉
as i just want to read out some data from the mcu on these boards like data-rate (192khz,384khz and so on), data-format (PCM,DSD) and maybe the HW-Volume for just displaying it on a small 3,5″ display for example (or use it to display it via some app/tool on a raspi/web etc..) “we” have now to find a way to solve this..


as we now have the possibility to access the I2C-bus via the new connection on an ES9038Q2M (they used it also to display/change some values via their hardware) we have to find a way to simple control/change/read-out data over it..
the normal “adresses” on an ES9038Q2M must be/are “hidden” due to some NDA-bla bla, and the real register-adresses are “encrypted”/are only in the mcu..

but how can i/we connect a raspberry/Arduino/ESP32 to it via I2C ?

i think we have now here to make a really long tutorial to get such “experimental setup” to work. how to exactly connect and to which pins, which tools/commands to use (python/i2c-set and so on)..
i will make a new thread in the forum->”Project 3: controlling the onboard mcu on an ES9038Q2M/-9028Q2M
there i will make this tutorial but i first to have to gather all possible informations about it and there u come in !! ;-)
so please post all your informations/experiences concerning this topic in the forum or here in the comment-section !!

a good start for now are these (new) “VinnyLorrin“-repositories at github->https://github.com/VinnyLorrin
->”ES9028Q2M-controller”,”ES9038Q2M-Linux_Driver”,”ES9028-controller-PCB” and so on..very good, first, informations about it…
(many many thx btw. to “eslei” at the diyaudio-forum for getting first infos/an entry->https://www.diyaudio.com/forums/digital-line-level/314935-es9038q2m-board-322.html

thread in the forum->http://essabre-90xx-rpi.sfb2.com/forum/forumdisplay.php?fid=86
greets for now 😉

ESP32S + 3.5″ TFT-display (480×320) (par.) ILI9481 Bodmer/TFT_eSPI

yeah, 😉
got it finally to work !!
so, another important step in the way of (building) your own DIY-DAC !! hooray !! (and thats what this site is all about, see “Introduction”) 😉
(YouTube-link->https://youtu.be/zjiCJ8Jtsug)
so II,
after the ESP32S is a much more powerful thing than an Arduino (the main advantage is also the great SPiffs/Flash-Ram of about 4MB(32Mb) for storing little images/icons like DSD64 and so on) and its a little bit difficult to get normal tft-displays on an ESP32S to work (different pin-layout and so on),i´ve bought this second tft (this time 3.5″) and only for ca. 6€->Ebay (Link)


main problem on these “cheap” 3.5″ is that some must be parallel connected (and not via SPI) so u have to find a way to solve this..
i´ve used the famous “Bodmer/TFT_eSPI”-library (works for some displays in parallel mode + on an ESP32)->https://github.com/Bodmer/TFT_eSPI
u only have to change some values in the “User_Setup.h” + “User_Setup_Select.h” to match your needs->other pin-definitions + the right tft-driver-selection (post maybe a link to these 2 files here or in the forum)..
here it works fine with the “ILI9481”-tft-chipset:

so III,
i can now use the ESP32S for the HW-digi-poti, for the filter-settings and so on, all with a very nice gui via wlan..(or bluetooth or via mqtt with an app par example (see all the posts before))..very nice 😉

greets for now 😉

ESP32S: combined ES9038Q2M web-/BT control / filter+source-settings + HW-volume

so, 😉
in reading my (this) own blog, its really lately almost the same/repeating 😉 ..
but anyway, its a “blog” and so today an update of this ES9038Q2M web-/BT-control..
i included now the complete “Bluetooth-control/block” in the ESP32s-sketch..
by that i´ve included a NTP-time server function in the sketch/on the GUI..

i´ll post the sketch also in the forum->LINK, and i´ve learned a lot about the ESP32S, the usable (and which) GPIOs, setup different hardware.serials and so on..
its still a little bit difficult to get some really useful information/sketches for the ESP32S, so i post the sketch there too and maybe someone will find something useful information in it..(+general thoughts/hints)
the web-control GUI itself is now with the HW (Digi-Poti MCP4131)-control in max/min, 10,4 and 1 steps..(max/min,+10/-10,+4/-4,+1/-1)..(the “slider”(HW-volume)-function is in progress 😉 )
also the filter control is still working..

(the layout/fonts on the Mega2560 based 3.5″ display is btw. absolutely horrible and really shitty, cause i must use the “normal” Adadruit.gfx-library with a super shitty command-set..before (with the other 2.8″ display i could use the “UTFT“-library->much much better/absolutely more comfortable+better looking)
greets for now and more to come 😉

ES9038Q2M: HW-Volume Control MCP4131+Arduino Uno (sketch)..

so, 😉
at waiting for my 2 AD797s i just finished my long planned “ES9038Q2M-HW-volume control” via some MCP4131+ an Arduino..
i originally wanted it to “combine/implement” it with my “ES9038Q2M-filter-web-control” on an ESP32S but there i have to first find out the right SPI-software/libraries and the pinouts; so not at present..
i took an Arduino Uno, one BT-Modul (HC-06), a 1602LCD and as said this MCP4131-digi-poti (1$ Ebay/Aliexpress)..

first post about it is here->http://essabre-90xx-rpi.sfb2.com/2018/02/es9038q2m-project-2-building-a-bt-controlled-hw-volume-control-digital-pot-10kohm-mcp4131/ and i used this very helpful article about controlling the MCP4131 via SPI from here:->http://www.learningaboutelectronics.com/Articles/MCP4131-digital-potentiometer-circuit.php


this mcp4131 has 128 steps and the usable “range” on this ES9038Q2M is about 64-128; as also posted by someone else before, only after 50% you can hear any difference..
the sketch (via BT as said now) is “full-up” (+128), “full-down” (+85), and in 4 point steps (+4 and -4) example: 124,120 and so on and in 1 point steps(+1,-1)..
the “main”-point in the sketch is this:

int digitalPotWrite(int value)
{
digitalWrite(CS, LOW);
SPI.transfer(address);
SPI.transfer(value);
digitalWrite(CS, HIGH);
}

(its after the loop and u call the function simply with: “digitalPotWrite(i);”; where “i” is the value (from 0-128))

Link (sketch) here + at the forum;

works here all very well and so u have another choice to adjust the volume (i use Volumio here without any software-mixer and therefore on 100% volume) than only via your amplifier and so u have some “finer” adjustments..
nice thing (but as said, i will try to “pair” it with my ESP32S-web-filter-control in future..),
many greets for now 😉

1 2 3 4 5